A legendary four-day off-road cycling adventure through ancient Britain.
Ride through 10,000 years of history
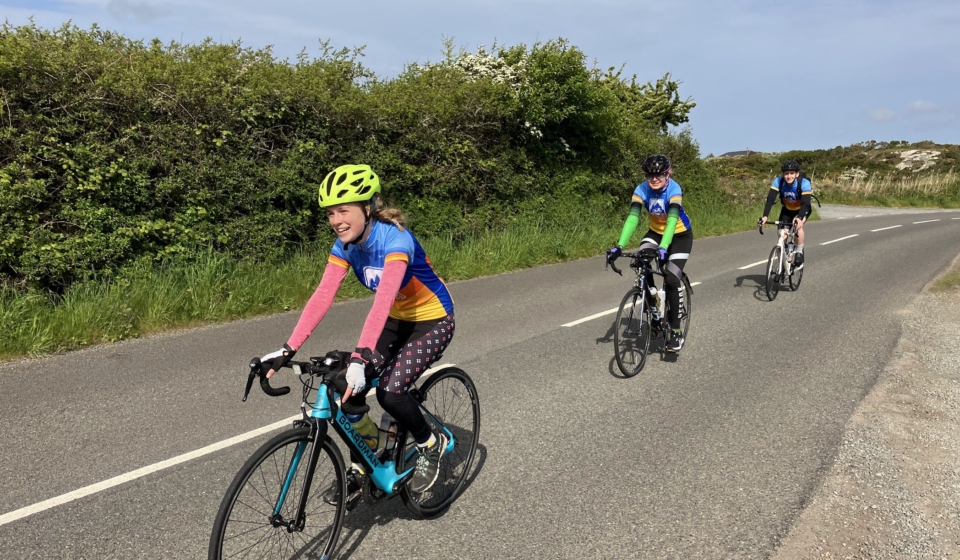
From ancient stone circles and Iron Age hillforts, to sweeping chalk trails and woodland tracks, the King Alfred’s Way Cycle offers one of the UK’s most iconic off-road cycling adventures. But what happens when you take that epic route, add a passionate support crew, sprinkle in a team of like-minded cyclists, and ride for a cause that truly matters?
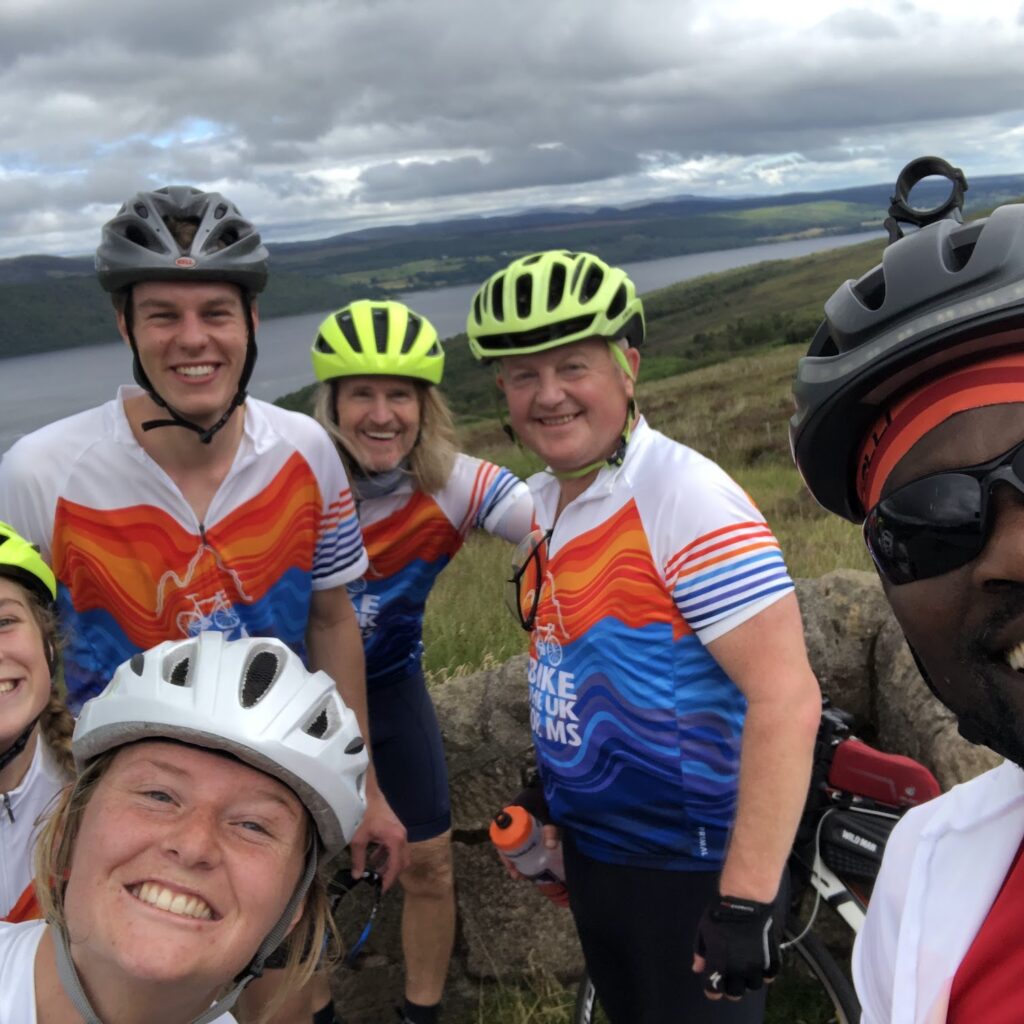
You get something much more than just a bikepacking route. You get Bike the UK for MS: King Alfred’s Way.
This guide breaks down everything you can expect on our 4-day supported cycling trip, whether you’re a returning Bike the UK for MS alumni, first-time off-roader, or curious adventurer searching for your next challenge.
What is the King Alfred’s Way Cycle?
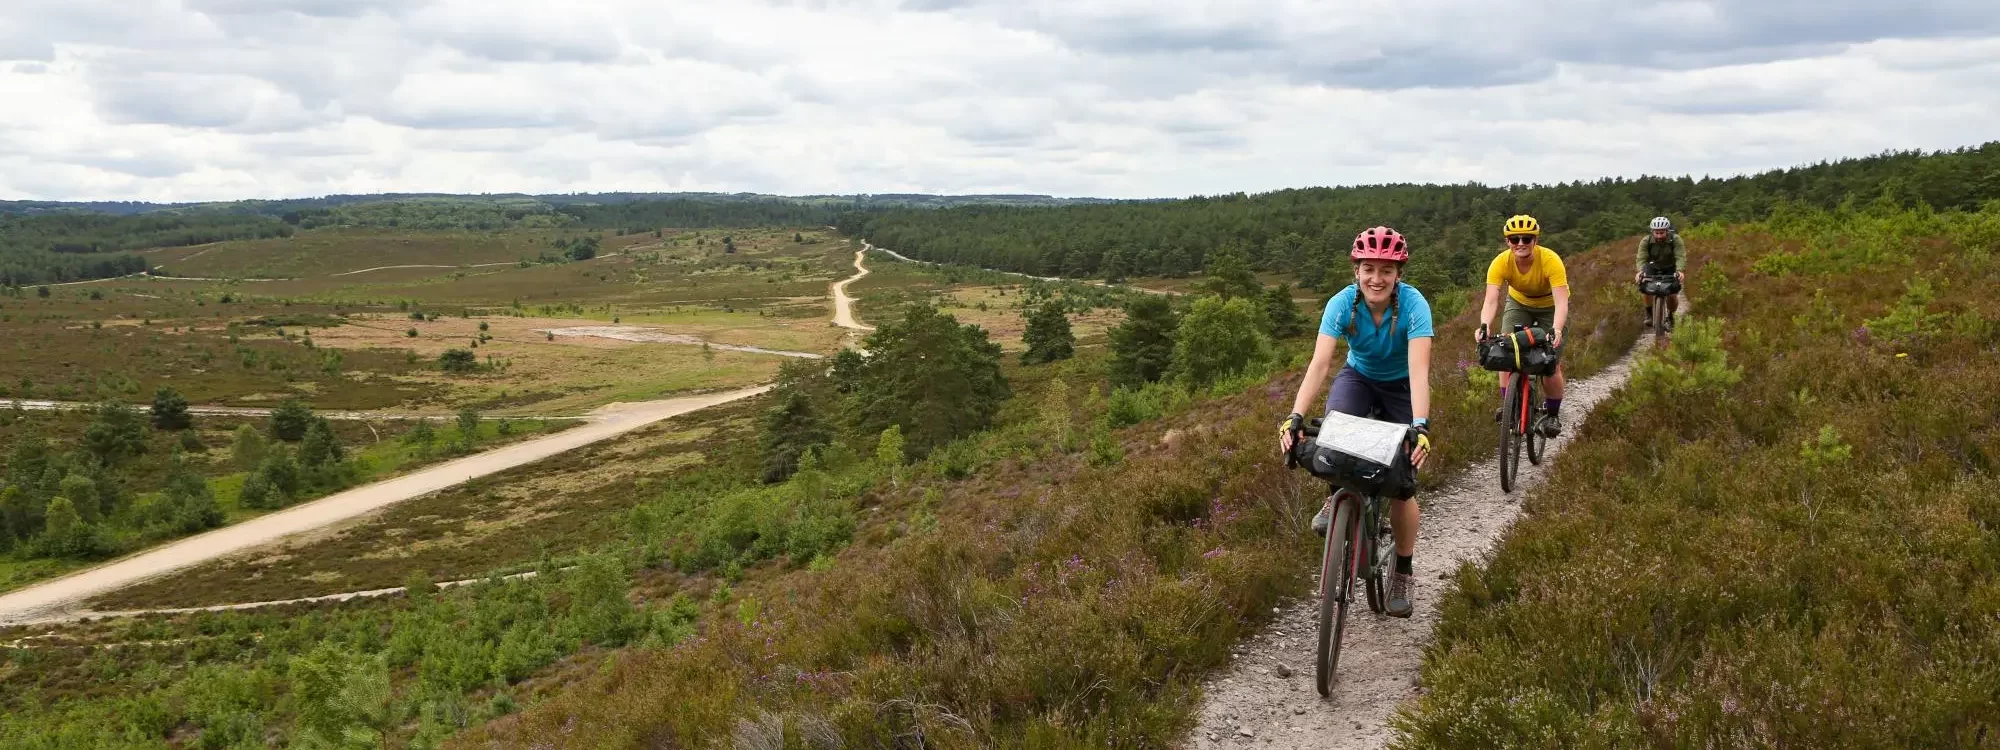
King Alfred’s Way is a 220-mile (350km) circular bike route through the historic kingdom of Wessex, developed by Cycling UK. It connects four National Trails – the Ridgeway, South Downs Way, North Downs Way, and Thames Path – taking in ancient monuments like Stonehenge, Avebury Stone Circle, and Old Sarum.
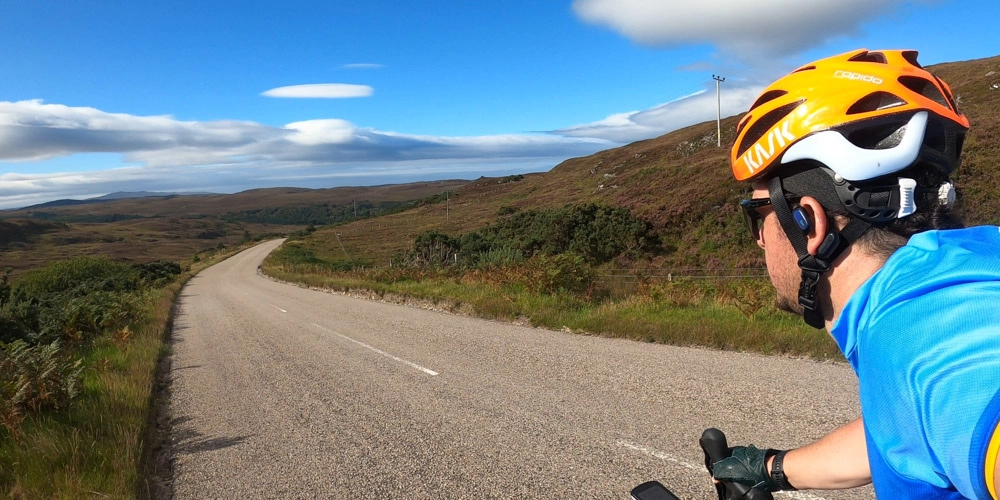
It’s about 85% off-road, ranging from wide gravel paths to chalky climbs, forest singletrack, canal towpaths, and sunken bridleways. The scenery is as varied as the surface under your tyres: open downs, misty woodlands, sleepy villages, and ancient hilltop views.
The route was designed with adventure in mind. You’ll cross military training grounds, Neolithic causeways, and Roman roads. It’s a route that blends natural beauty and historical significance with physical challenges throughout.
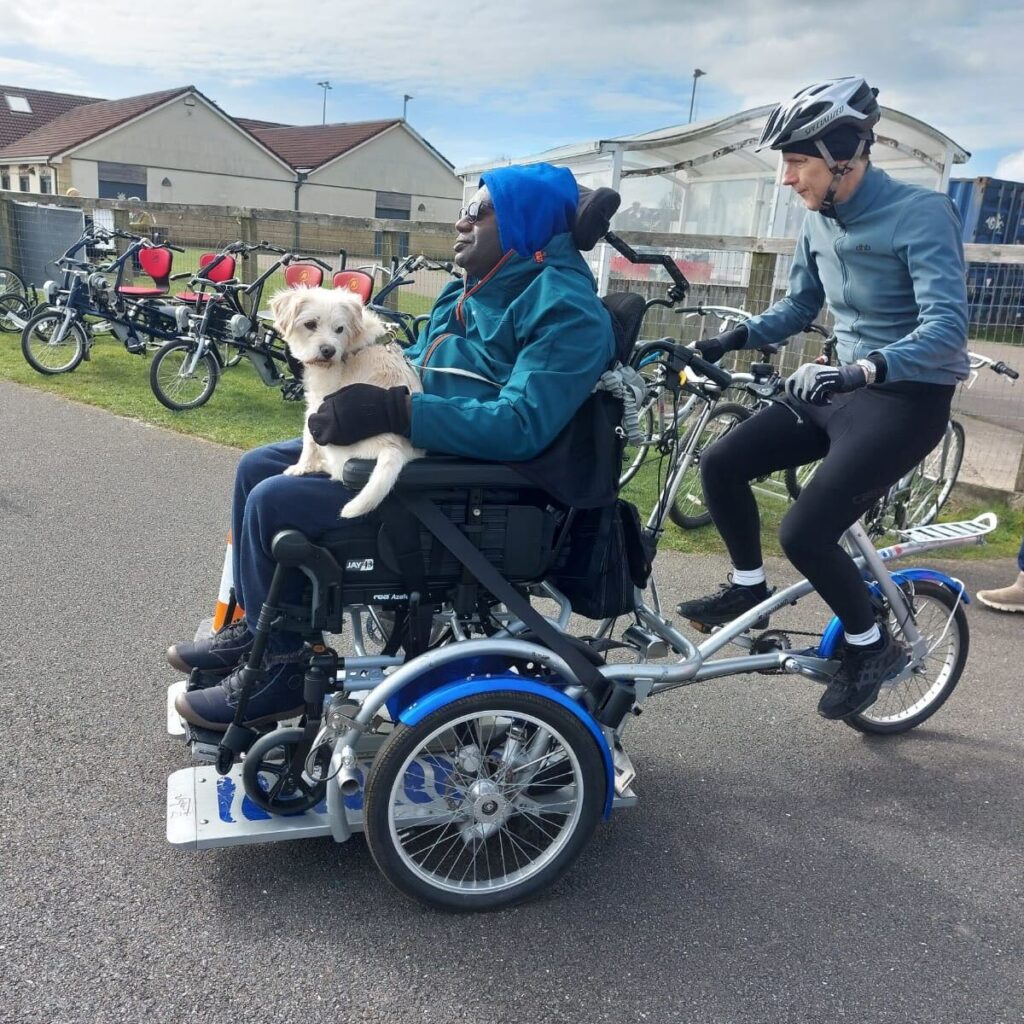
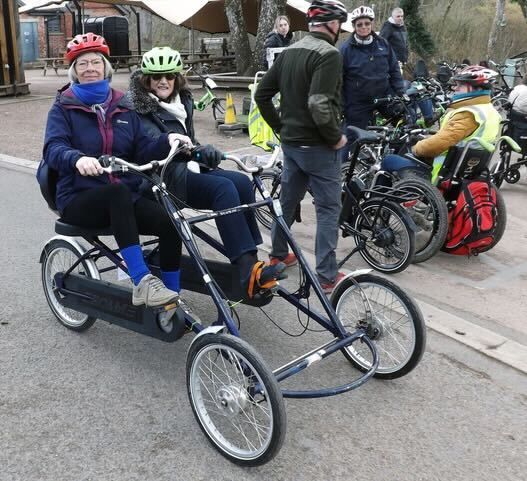
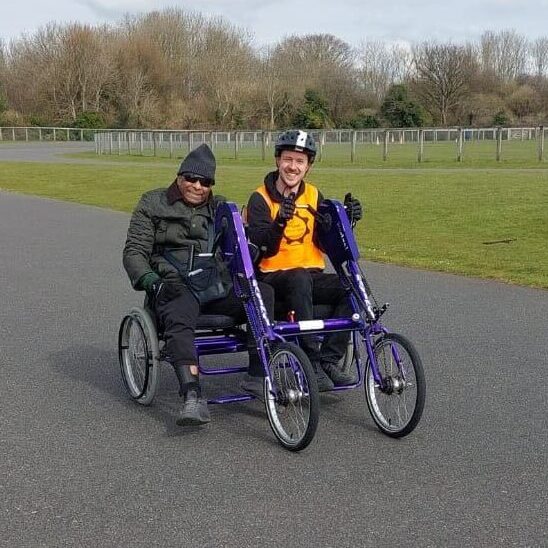
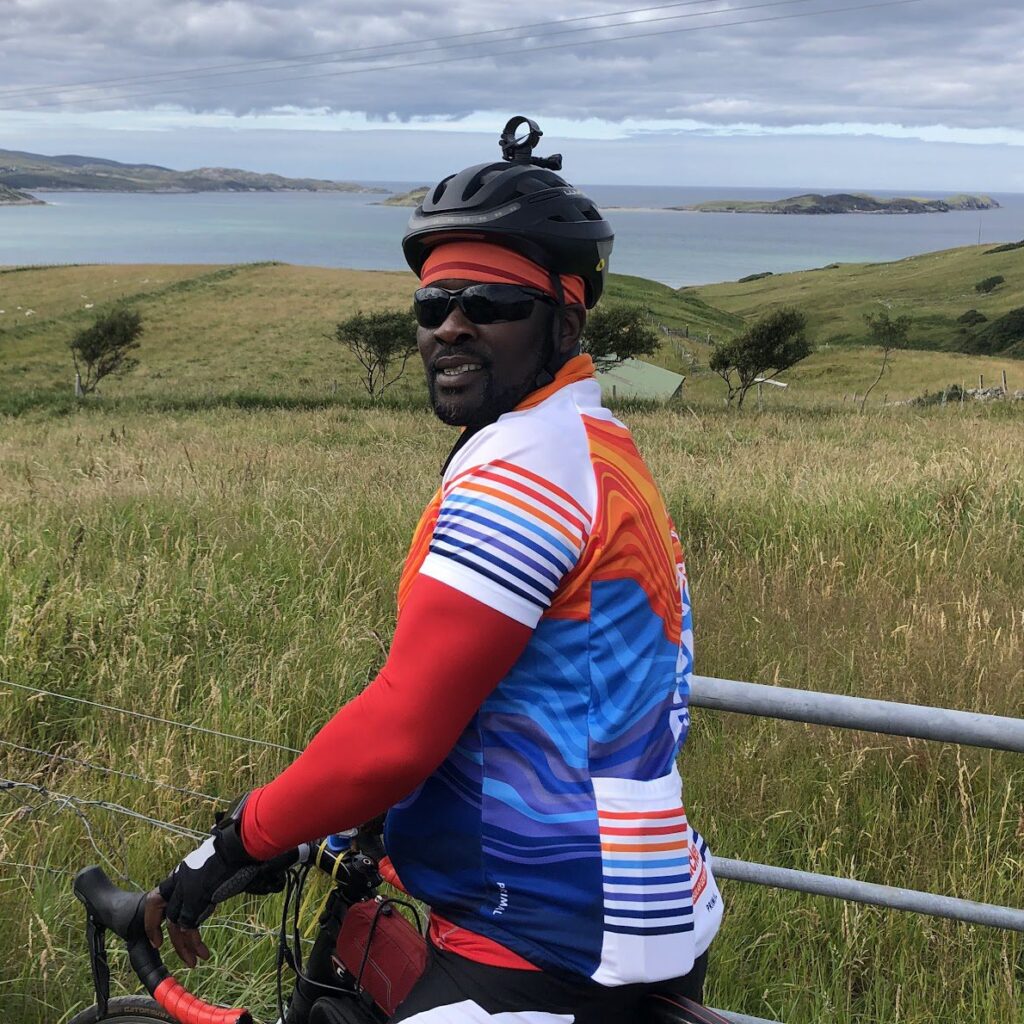
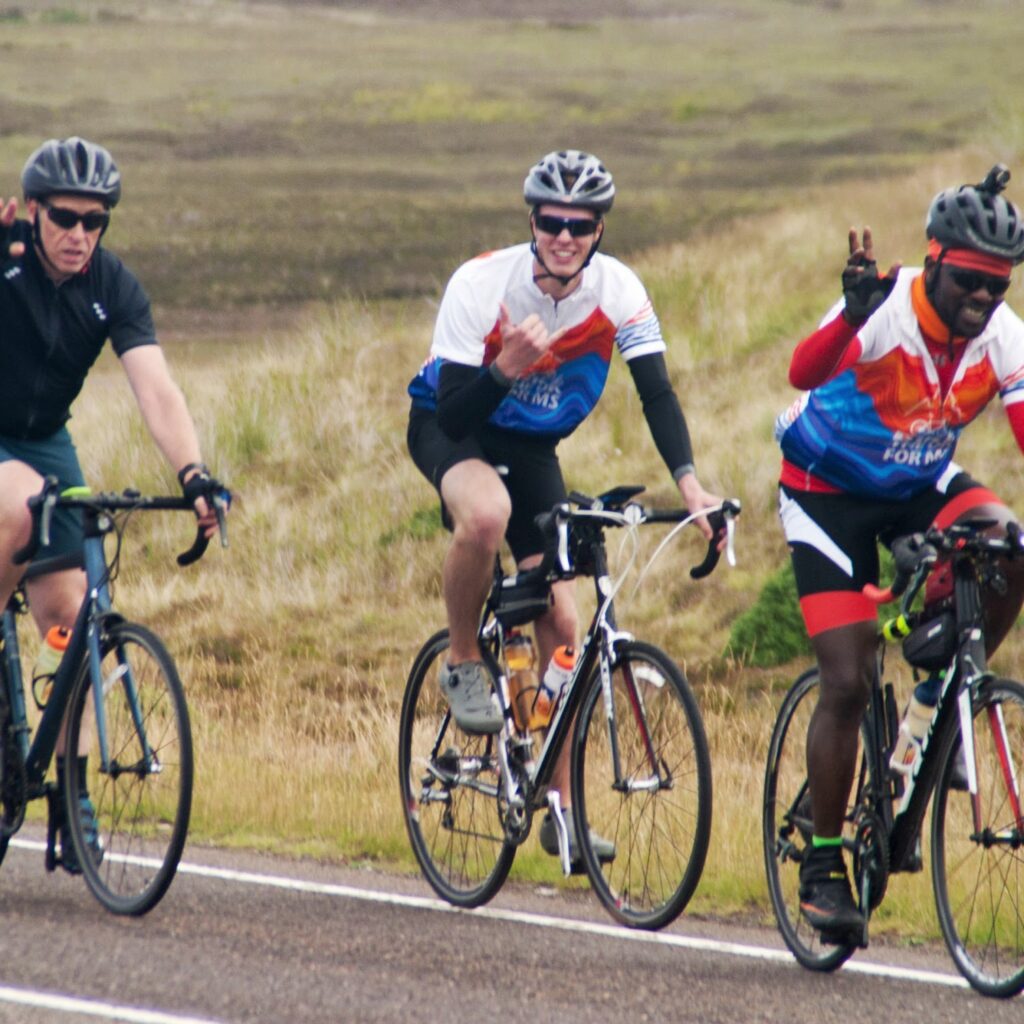
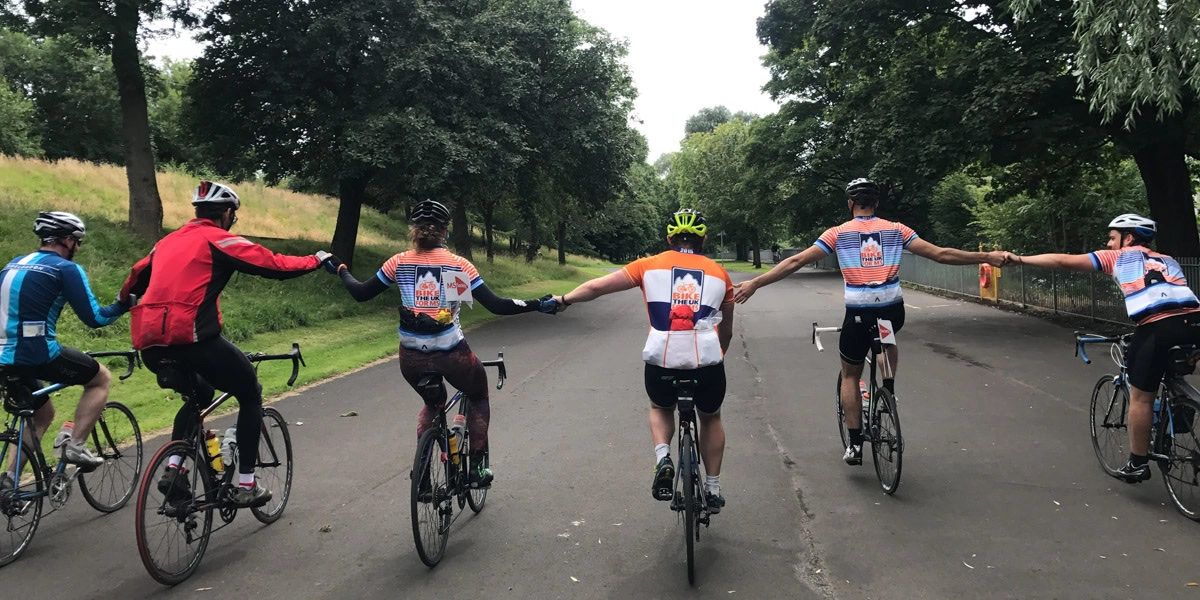
What makes our ride different?
Most people ride King Alfred’s Way solo, carrying their gear, plotting their route, and crossing their fingers for good weather and working brakes. We do it differently.
When you join Bike the UK for MS:
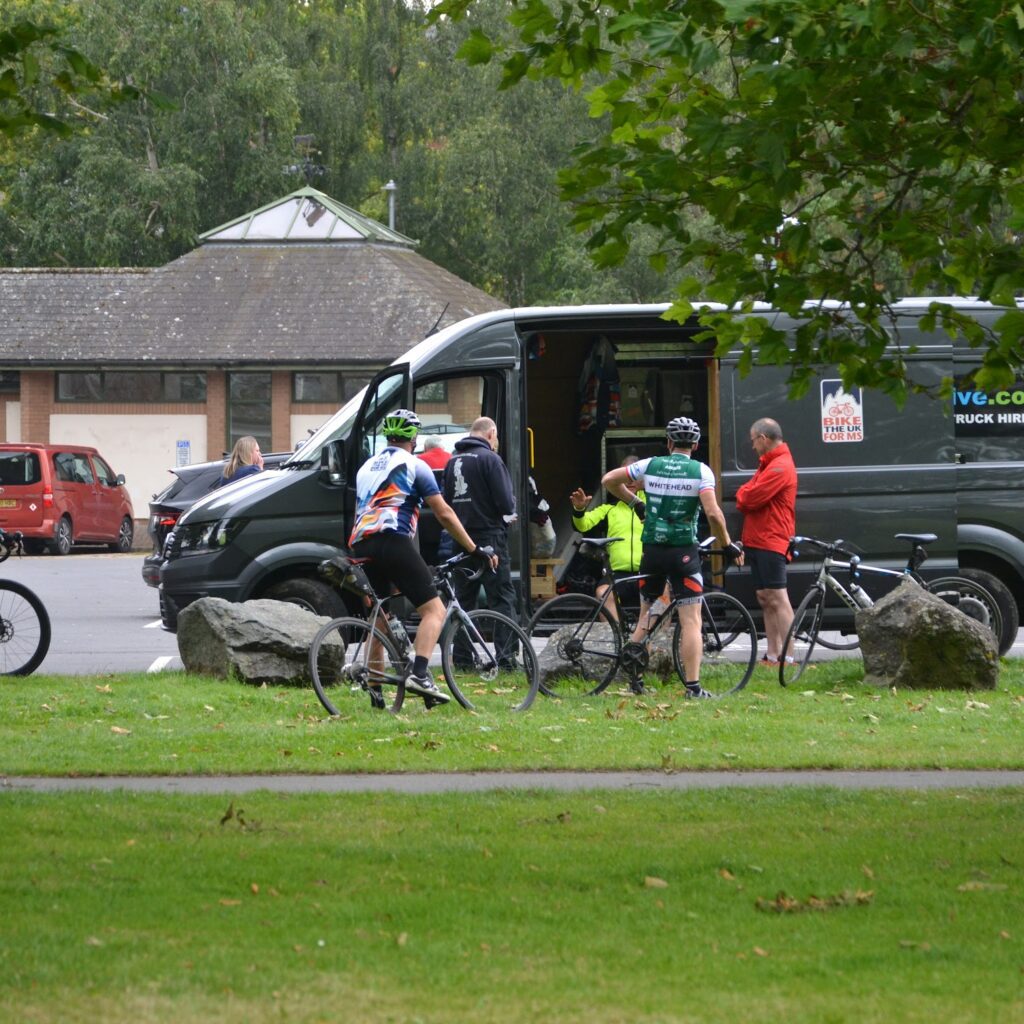
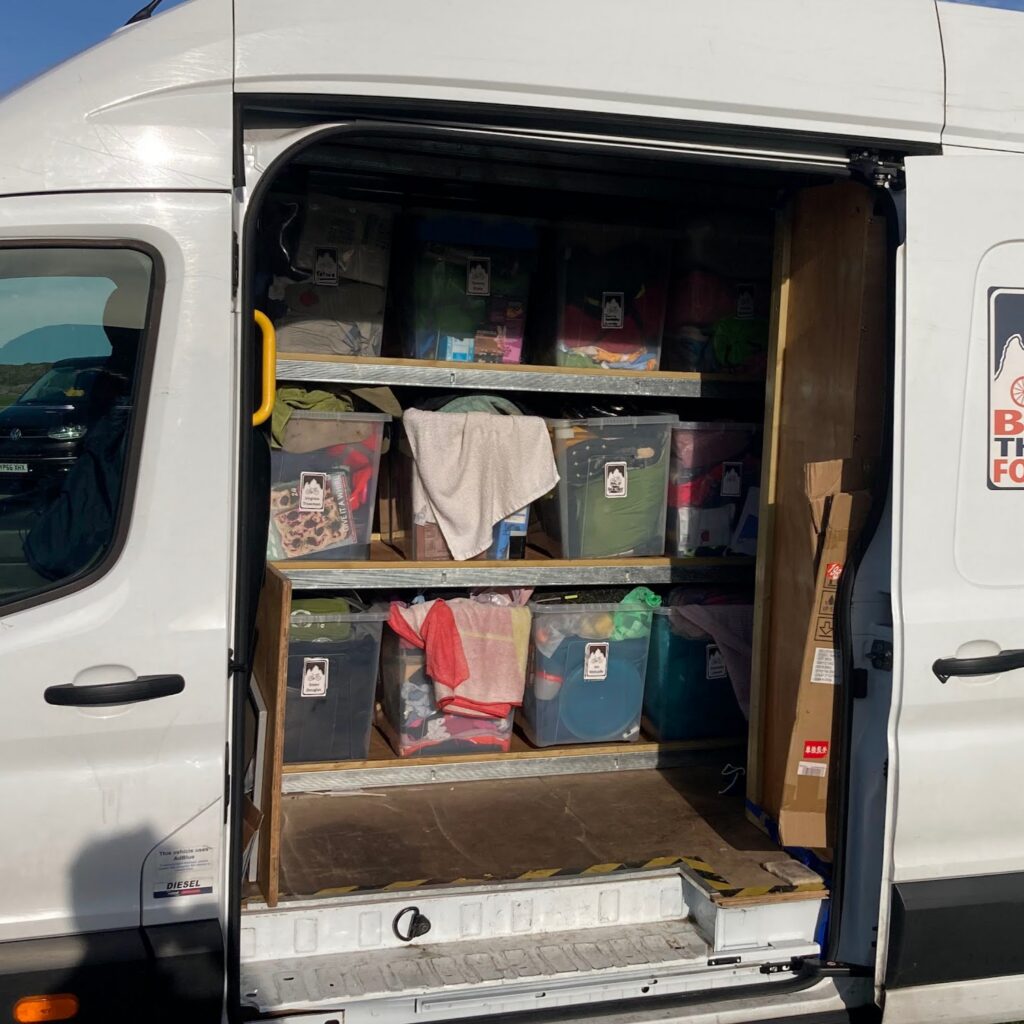
- Your gear travels in the support van.
- Your route leaders keep you on track.
- Your water stops appear every 15–30 miles.
- Your team shares stories, snacks, and miles together.
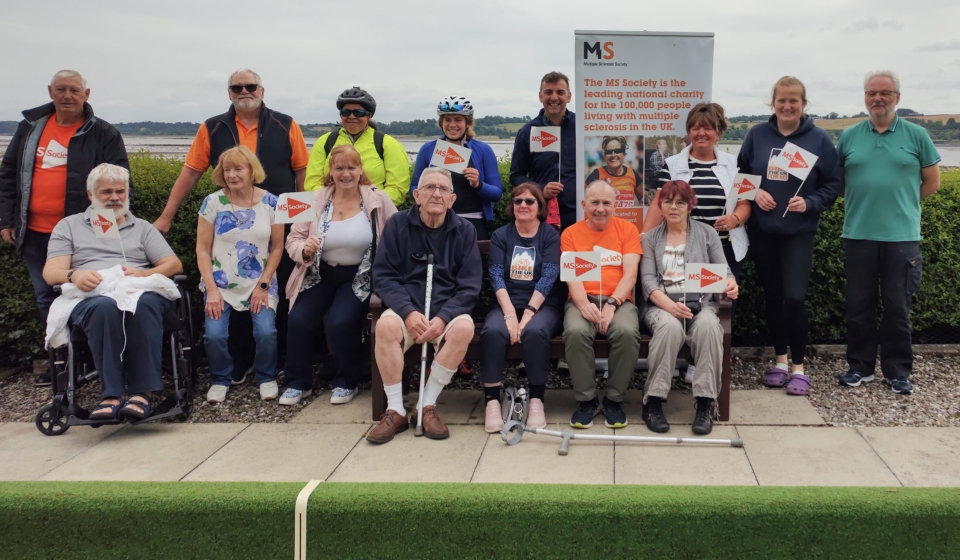
- And your fundraising helps support those living with multiple sclerosis across the UK.
This is a fully supported group ride, but it’s still an adventure.
The Route: Day-by-Day Breakdown
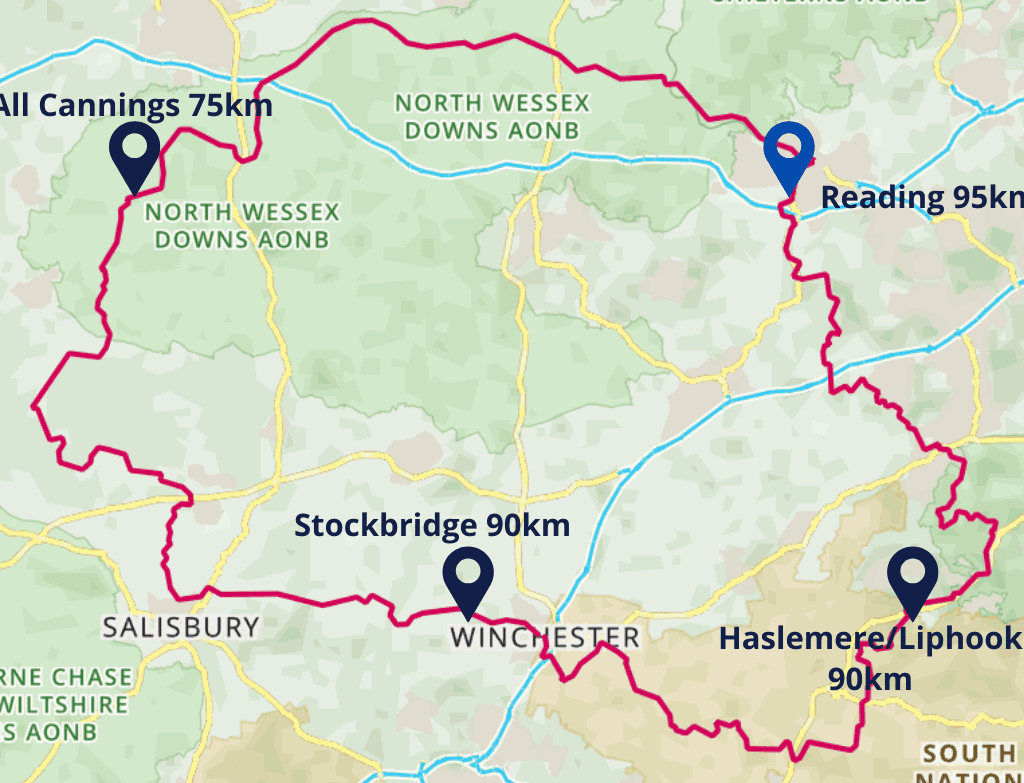
May 16–19, 2025
Start and end point: Reading
Total distance: 220 miles
Elevation: 11,850 ft
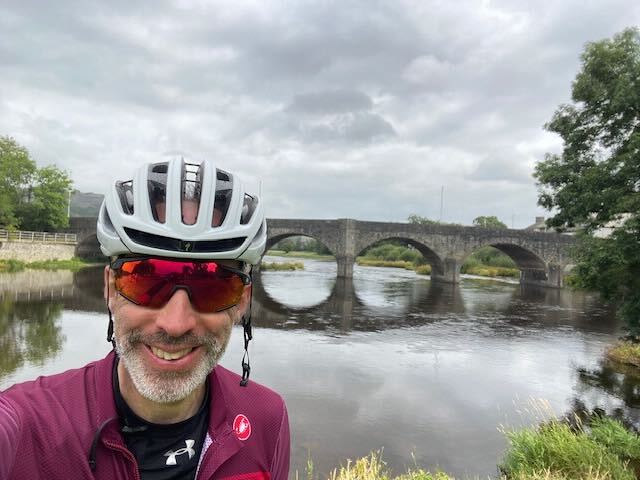
Day 1: Reading to Liphook – 62 miles
We begin with a gentle roll out from Reading, joining the Kennet and Avon Canal and riding out along easy-going towpaths and rural lanes. As we leave the Thames Valley behind, we begin our transition into more rugged terrain, with woodland trails and bridleways weaving through Hampshire. Today features a mix of forest tracks and sandy sections as we pass through Swinley Forest and Frensham Common, offering early glimpses of the route’s varied surfaces.
Expect occasional rutted sections and narrow lanes lined with ancient oaks. The highlight of the day is reaching the Devil’s Punch Bowl, a stunning natural amphitheatre near Hindhead. We descend through rhododendron-filled trails and head towards our overnight in Liphook.
Day 2: Liphook to Stockbridge – 50 miles
Today starts with flowing singletrack through Queen Elizabeth Country Park, including stretches of the South Downs Way. Prepare for some challenging climbs and rewarding views across the Hampshire downs. We’ll ascend Butser Hill, the highest point on the South Downs, before descending chalky bridleways and entering pastoral farmland.
We ride through Old Winchester Hill, home to an Iron Age hill fort and rich in wildflowers and views. The route weaves through quiet lanes and grassy byways, following ancient tracks that feel timeless. As we approach Stockbridge, we’ll cross sections of Roman roads and pass through villages steeped in history. Be prepared for undulating terrain and short technical descents, especially if conditions are damp.
Day 3: Stockbridge to All Cannings – 49 miles
This is our most history-soaked day. We ride towards Salisbury Plain, a vast, open plateau used for military training and rich with archaeological significance. The route skirts danger zones, keeping us safely on bridleways as we head toward Old Sarum, an ancient hill fort where Romans, Normans and Saxons all left their mark.
Shortly after, riders will spot the unmistakable outline of Stonehenge in the distance. We pass close by via public byways, with the option for a short detour for a better view. After a rest stop, the terrain becomes more rolling, with grassy fields and open farmland leading us towards the Avebury Stone Circles. Less touristy than Stonehenge, but equally magical.
The day ends with a gentle cruise into All Cannings, a peaceful village beside the Kennet and Avon Canal, perfect for a quiet, relaxing evening.
Day 4: All Cannings to Reading – 58 miles
Our final day follows the iconic Ridgeway, Britain’s oldest road. This ancient route delivers long, undulating tracks across open chalk downs. The wide trails allow riders to soak in sweeping views of the Wiltshire and Oxfordshire countryside.
Expect fast, flowing descents and some exposed sections. The wind can be a factor here. We pass the Uffington White Horse, a prehistoric chalk figure carved into the hillside, and ride near Barbury Castle, another impressive Iron Age fort.
As we descend from the Ridgeway and re-enter the Thames Valley, the terrain softens again. A mix of canal paths and rural lanes leads us back into Reading, tired but triumphant.
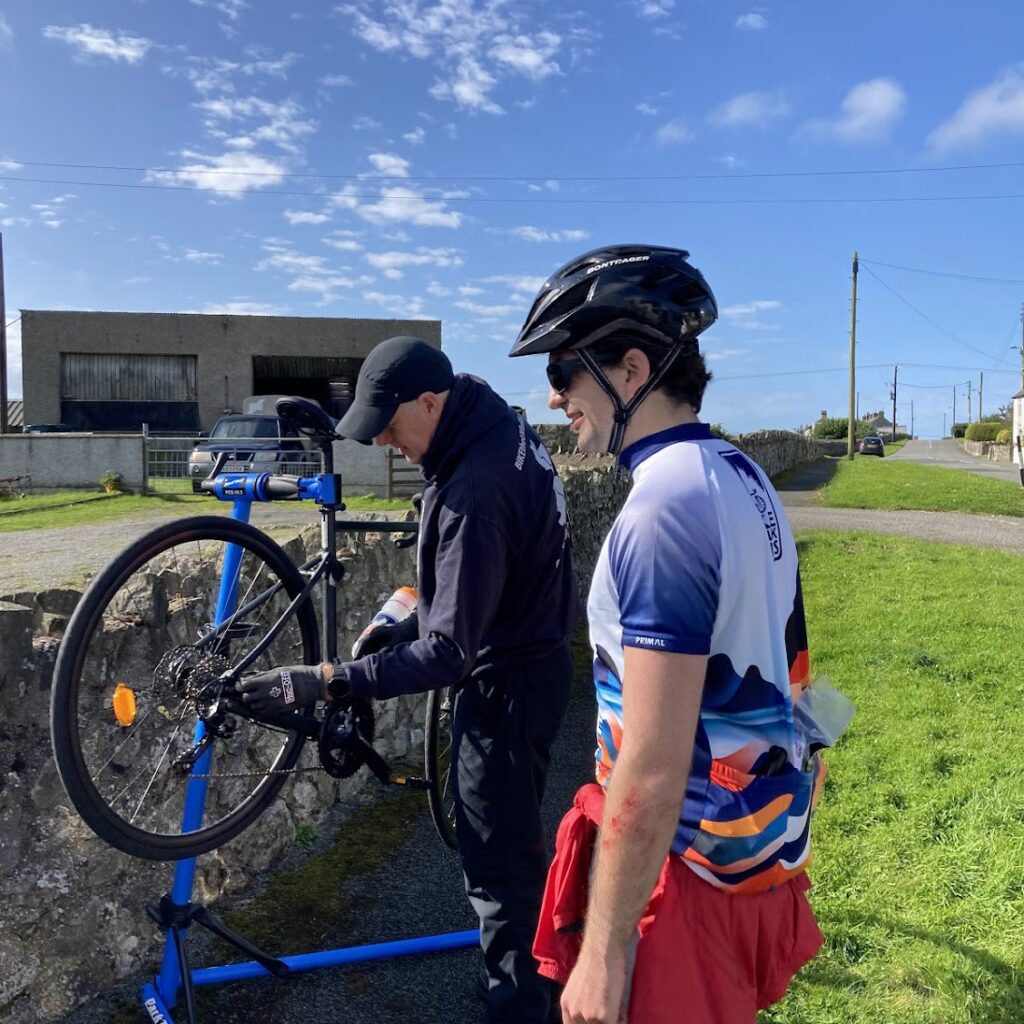
What kind of bike do I need?
We recommend a gravel bike, hardtail mountain bike, or cyclocross bike if your skills are up to the challenge. Tyres of 40mm+ are ideal, with good tread for loose terrain.
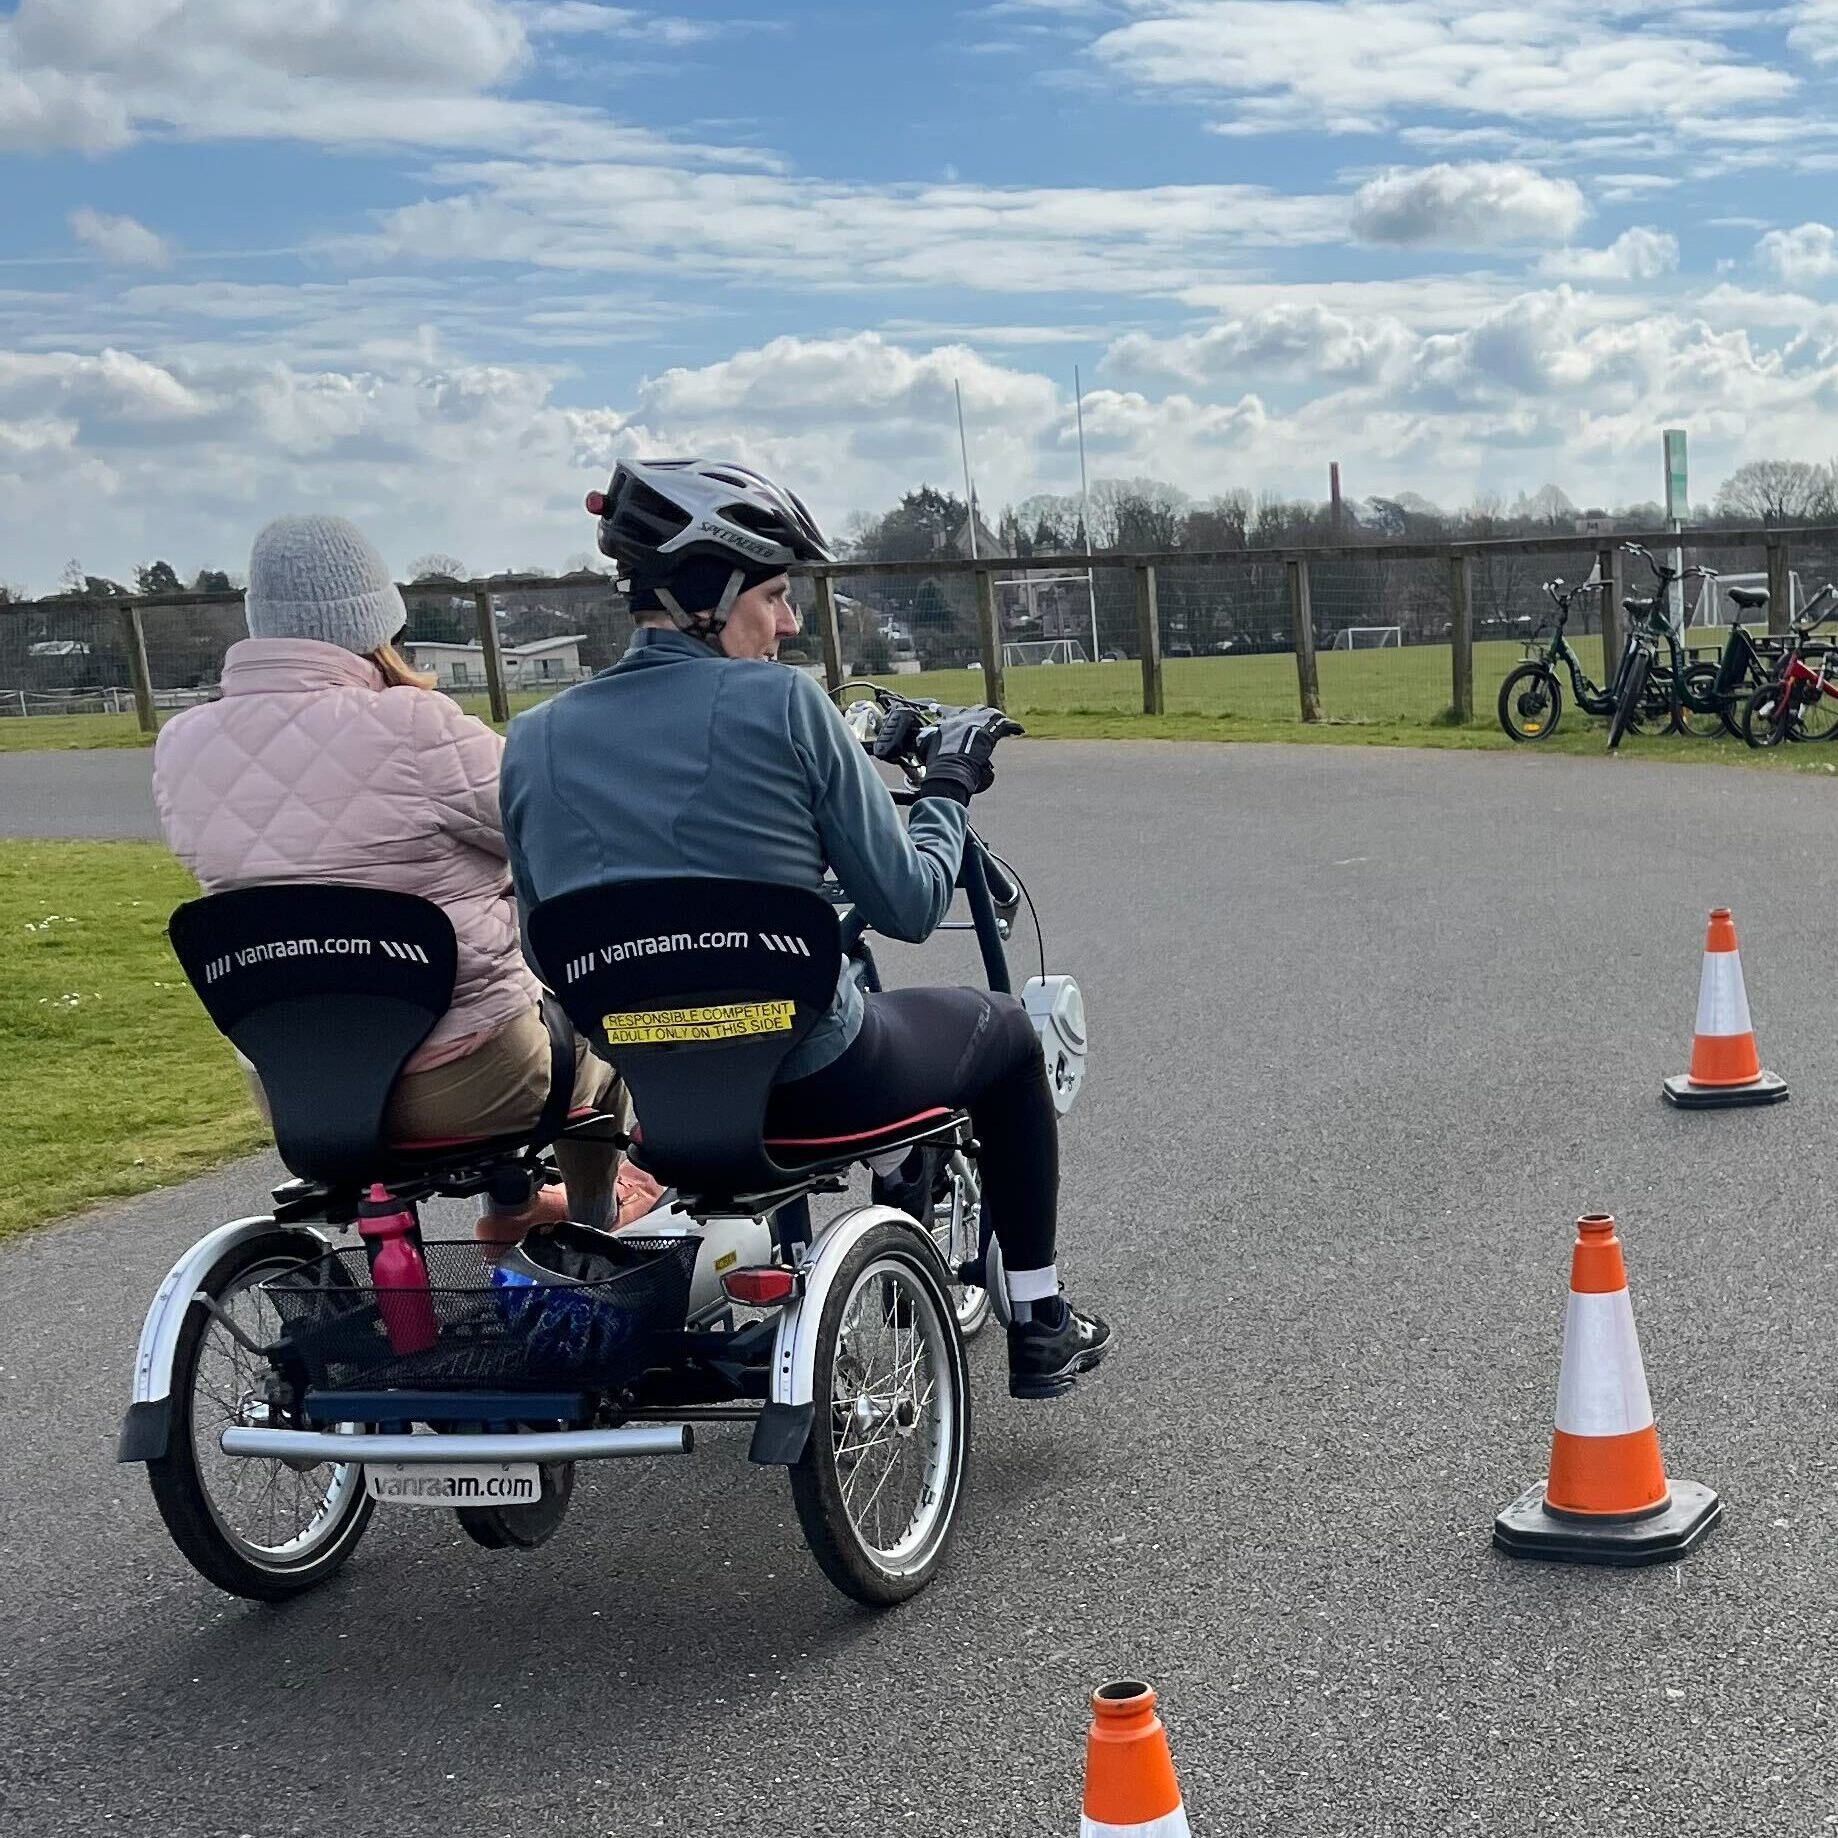
eBikes are welcome! Just be sure to manage your battery range (a spare battery is ideal). We’ll have charging options via our Jackery units at rest stops and camp.
What gear should I bring?
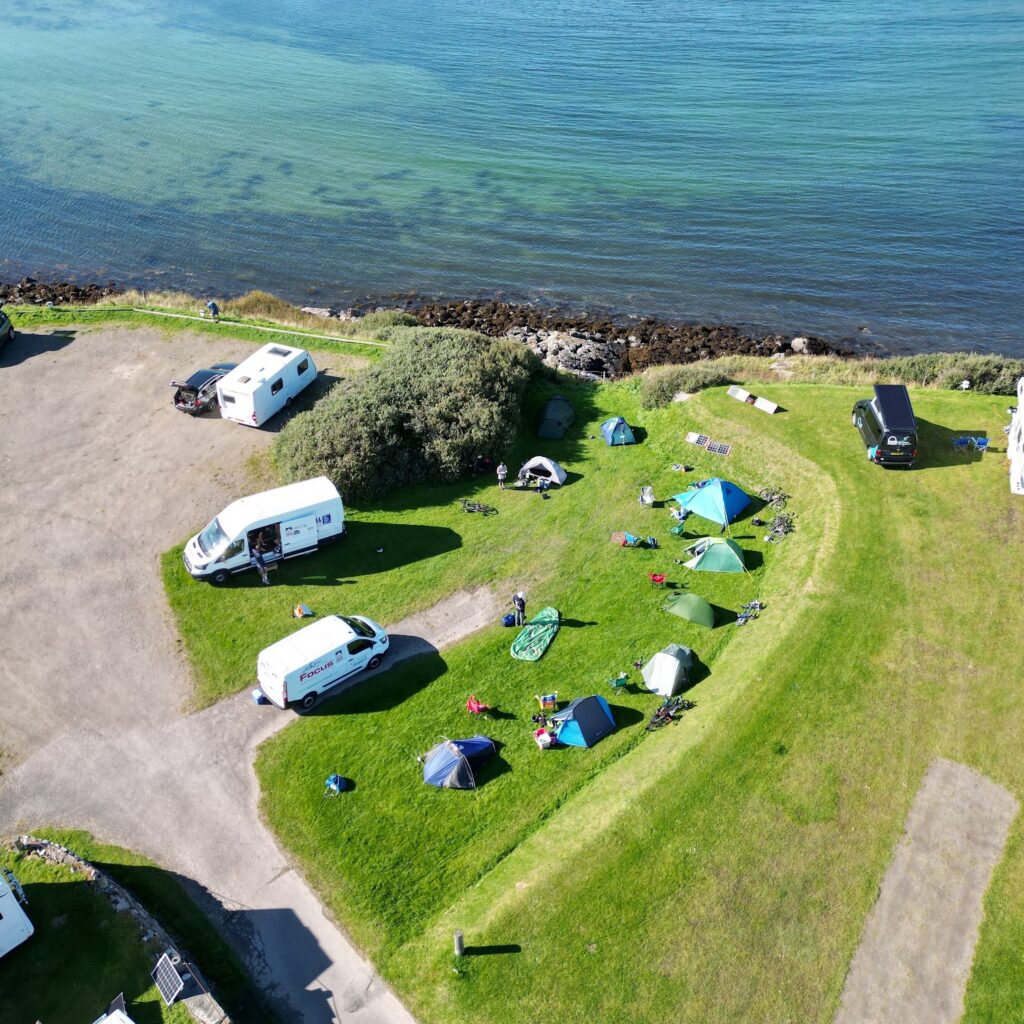
We carry your kit for you, so no panniers needed! You’ll have:
- An 80L box for your main gear (camping kit, clothes, etc.)
- A 16L day box for essentials like snacks, layers, or spares, accessible at rest stops
The basics you’ll need to bring:
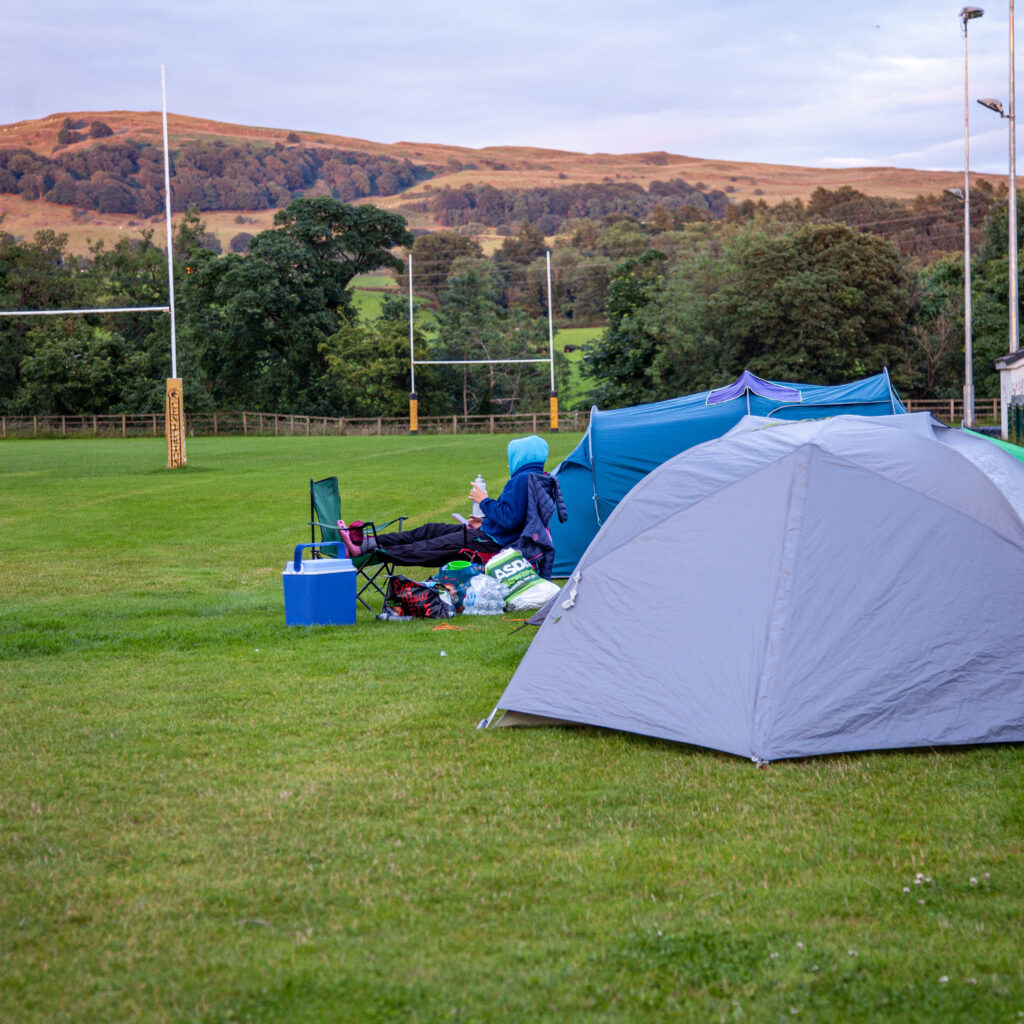
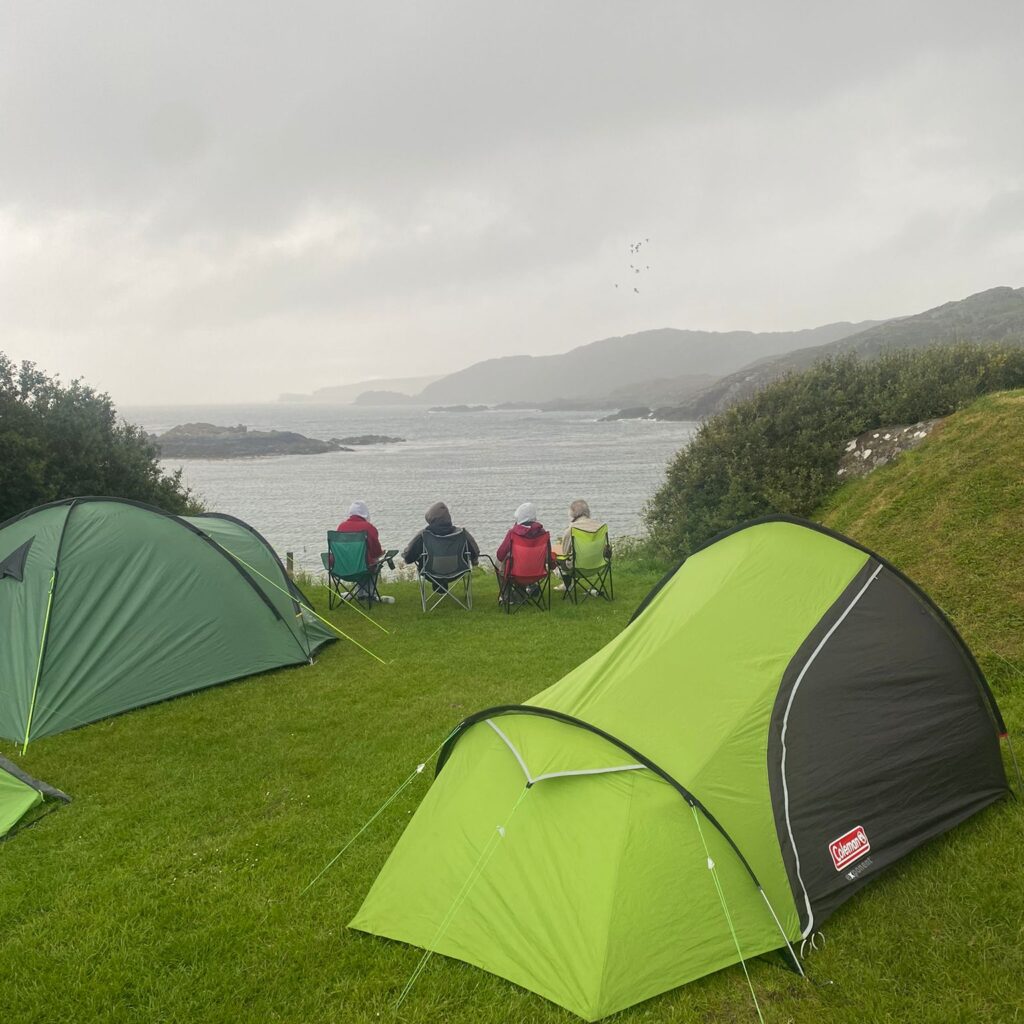
- Tent, sleeping bag, sleeping pad
- Your chosen bike
- Optional cooking gear (if not eating out)
- Riding kit, tools, and personal gear (we send a full checklist)
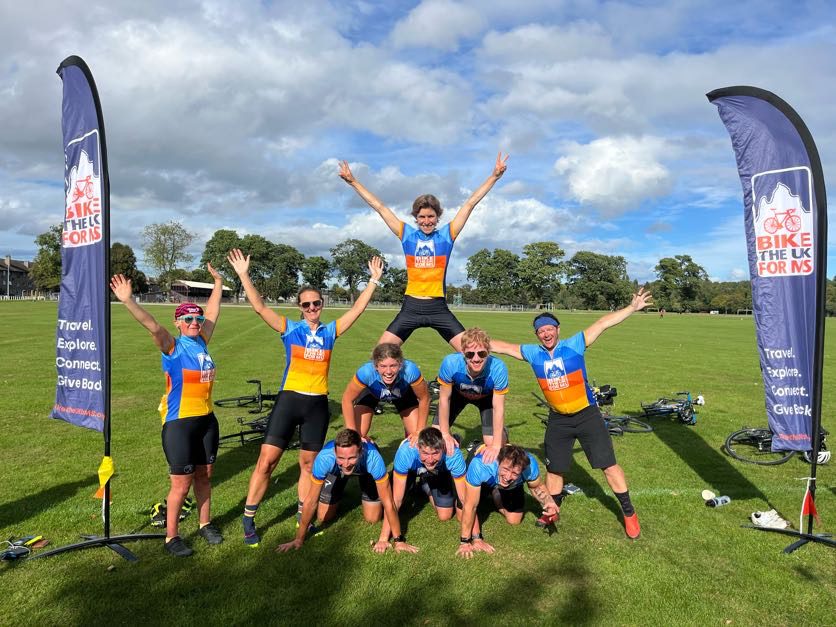
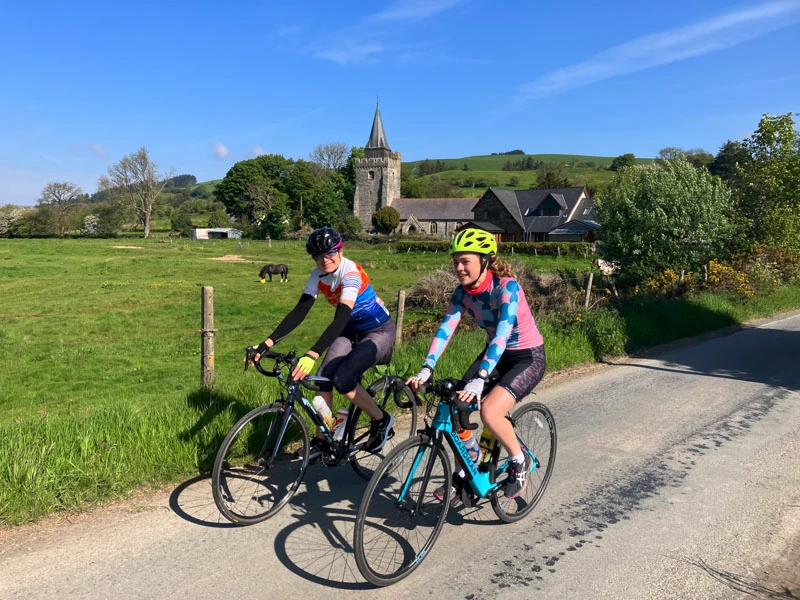
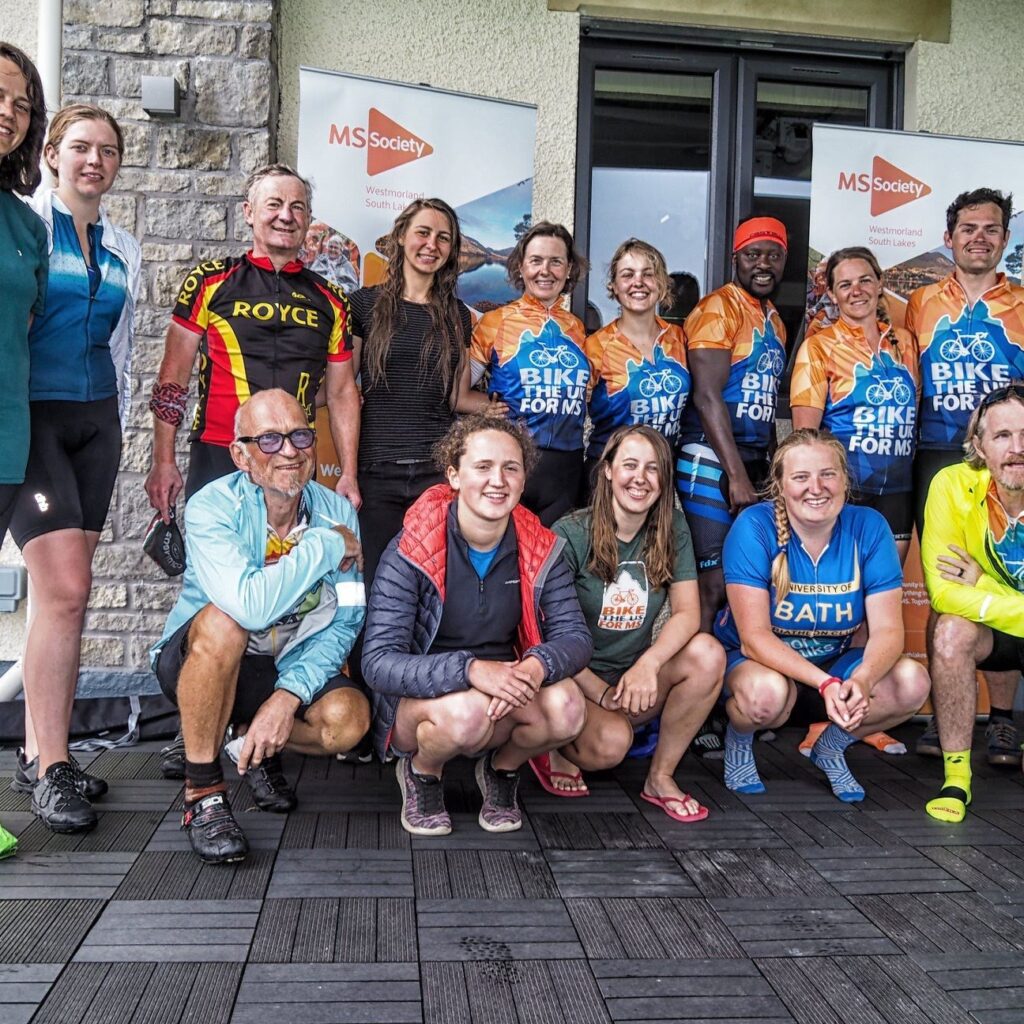
What’s the vibe like?
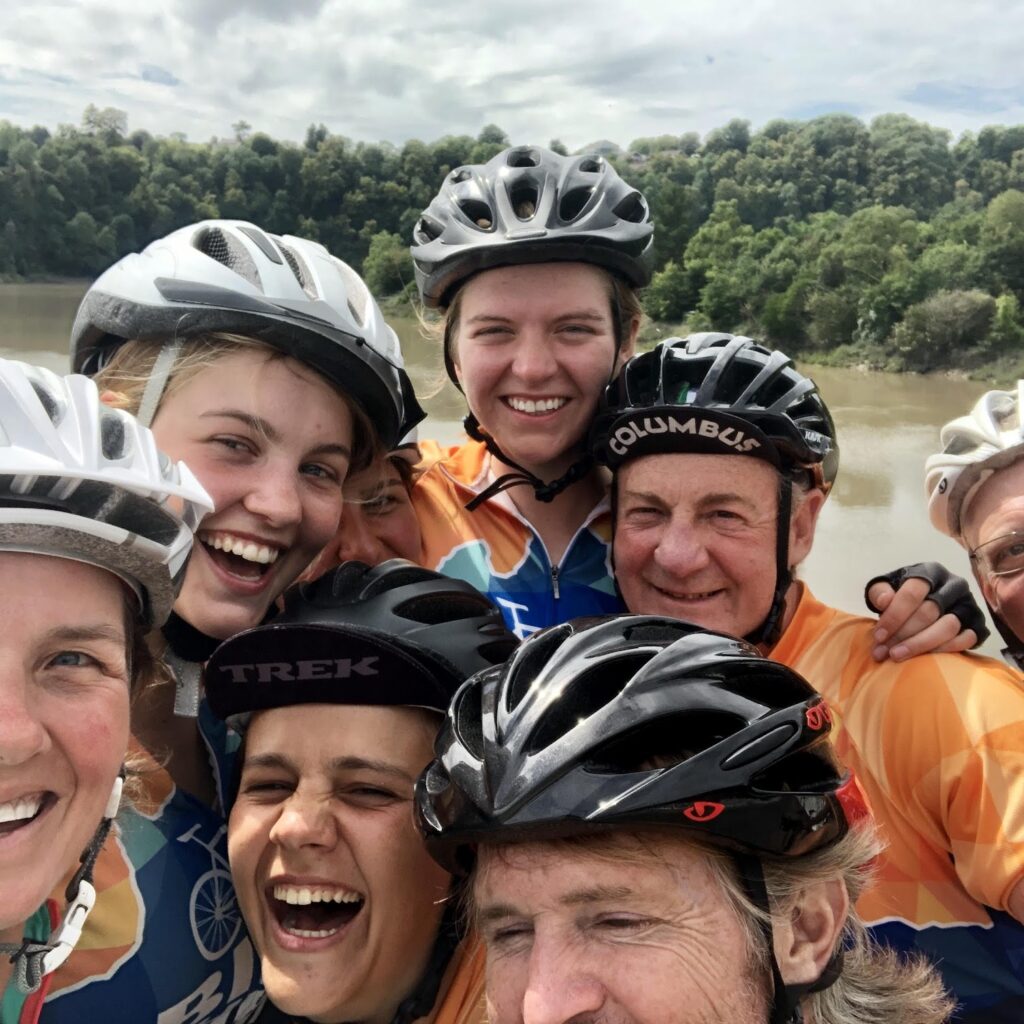
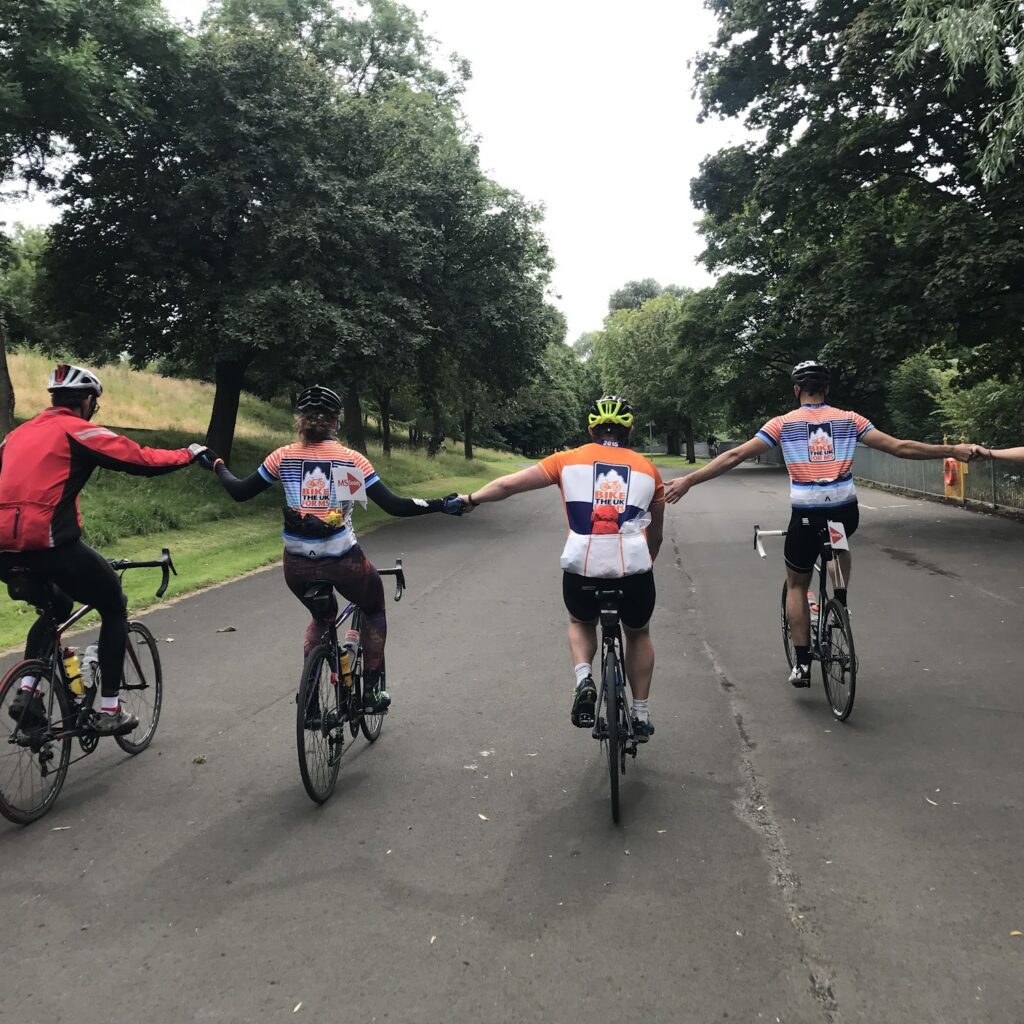
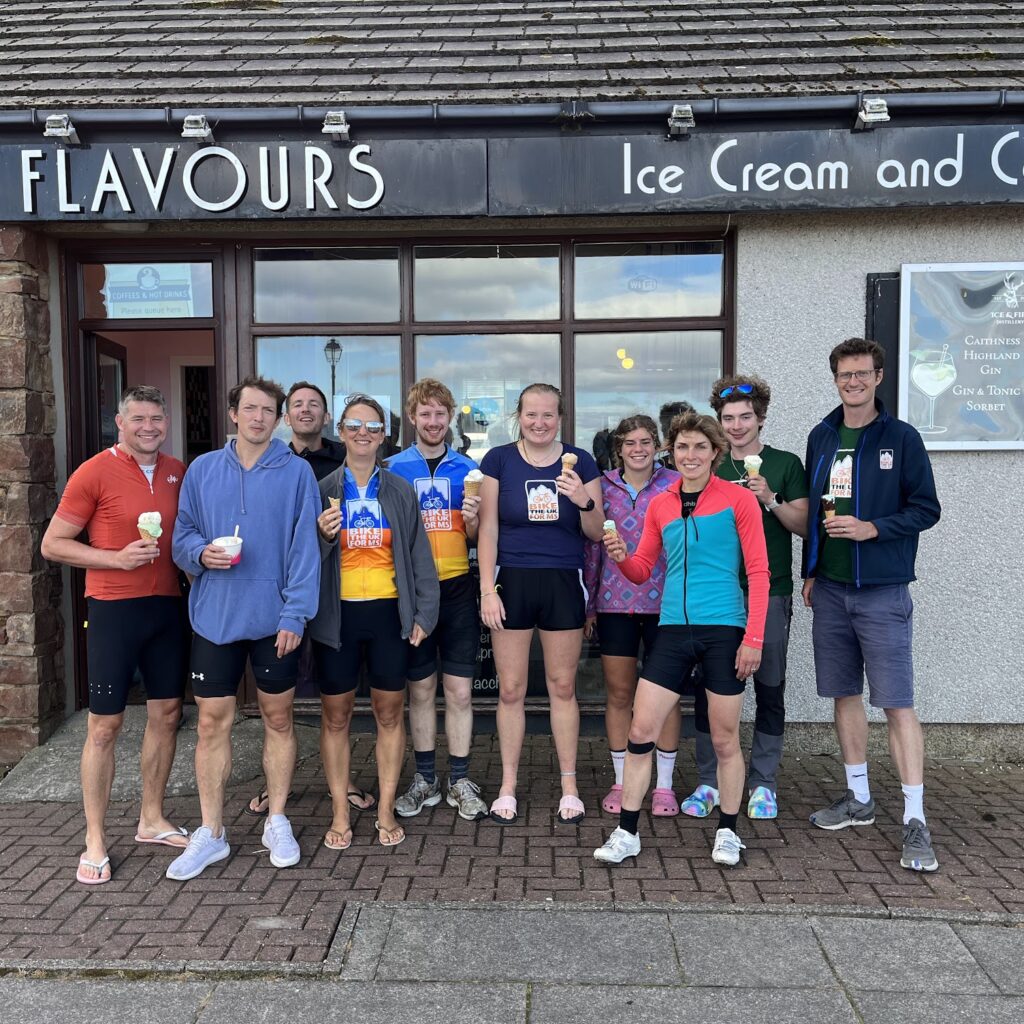
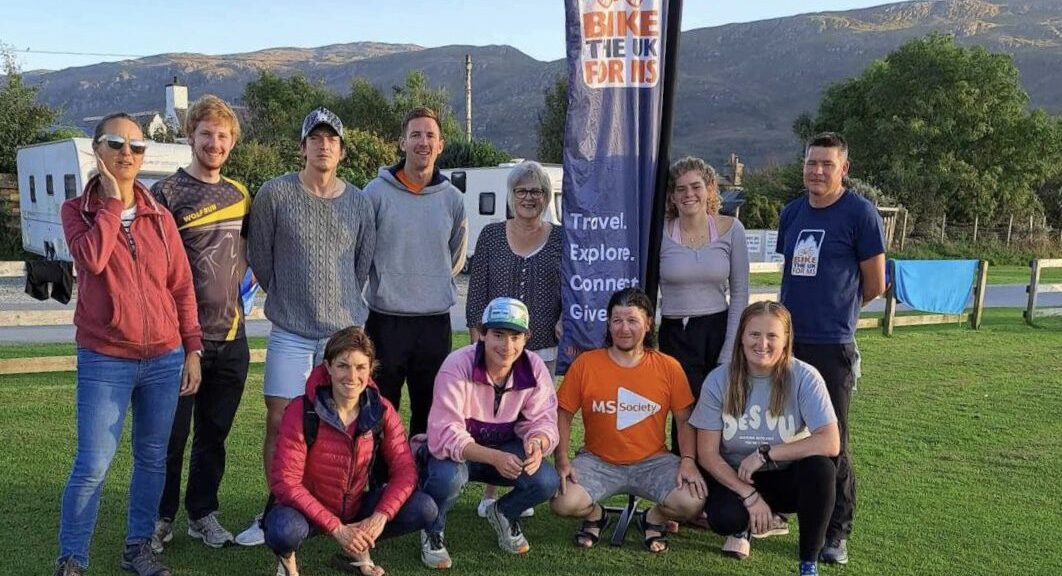
Think team spirit, not competition. Around 10 riders, riding at their own pace, supporting each other. There’s no set speed or cutoff times. You ride how you want, slow and steady, photo-heavy, or charging between cafes.
This is about experiencing something unforgettable together, and raising funds for a great cause while doing it.
Is it tough?
Yes… but not too tough.
The route includes some decent climbs, some rutted descents, and lots of varied surfaces. But it’s designed to be doable with training, and we provide training plans to help you get there.
If you can ride 40–50 miles in a day, you’re on track. You’ll also learn from alumni and get advice from our team before you even start pedalling.
What does it cost?
- £25 to register
- £440 fundraising target (just £2 per mile!)
This covers your support, accommodation, jersey, logistics, and rider resources. Food is your choice and cost: camp meals, pub dinners, or café stops are all fair game.
How do I sign up?
Just head to our King Alfred’s Way event page and click Register.
You’ll get:
- A welcome pack
- Training advice
- Gear prep support
- A chance to be part of a purpose-led cycling community
Final Thoughts
What makes King Alfred’s Way so special isn’t just the history – though there’s plenty of that. It’s the sheer variety packed into four unforgettable days of riding. One moment you’re winding through a cathedral of trees in the South Downs, the next you’re cresting a ridge with 360-degree views across timeless countryside.
Each day brings something new: a sweeping descent through a nature reserve, a hidden Roman road, the unexpected sight of Stonehenge rising from the mist. It’s a route that keeps you on your toes and rewards your effort with a constant stream of memorable moments.
Riding it as part of a supported team, without the stress of logistics or navigation, means you get to focus on what really matters: soaking up the ride, the scenery, and the company.