IMG_9822

Felix‘s Top Tips for Winter Cycling – Part 2

Here is part 2 of Felix’s Guide to Winter Cycling! Including the final 4 tips to complete the list.

check out part 1 first if you haven’t seen it yet!

Tip 4 – Mudguards

As you will be able to tell by looking at any of my bikes, I am often guilty of not following my own advice in this regard. Mudguards may not be the most exciting bit of cycling gear to upgrade your bike with but they can make a huge difference in the winter.

Riding with mudguards can help keep your bike clean but more importantly for this list, they can keep you drier and help to remove some of the discomfort that can come with winter riding. Even if it’s not raining, the ground will often be wet during winter, so spray from your wheels can turn you sodden – even during a sunny ride. 

It’s not just you it can help!

What’s more, if you are riding with others then the spray from your rear wheel will fly up into the face of the rider behind you which is an excellent way to put people off riding with you. Some cycling clubs will strictly enforce mudguards on winter rides for this very reason.

One of the biggest uses I have had for mudguards is when I am trying to combine my cycling with something else, for example commuting or riding to meet up with someone instead of driving. This is a great way to rack up winter riding time but if you are covered in water and muck from head to toe it can be incredibly inconvenient. If you have mudguards on, these rides are much easier to manage and I find that as a bonus I can pack lighter too as less of my stuff will be sodden.

It can be a little tricky to get mudguards fitted properly so that they don’t rub, rattle or break off entirely. It can take a bit of fiddling around but you can even get clip on ones for road bikes without mounts for full mudguards so there is no excuse not to use them. As a minimum, you can get a small plastic fin to extend behind your saddle – unnoticeable to even the most particular rider but just enough to keep the spray off your backside!
Tip 5 –  Lights

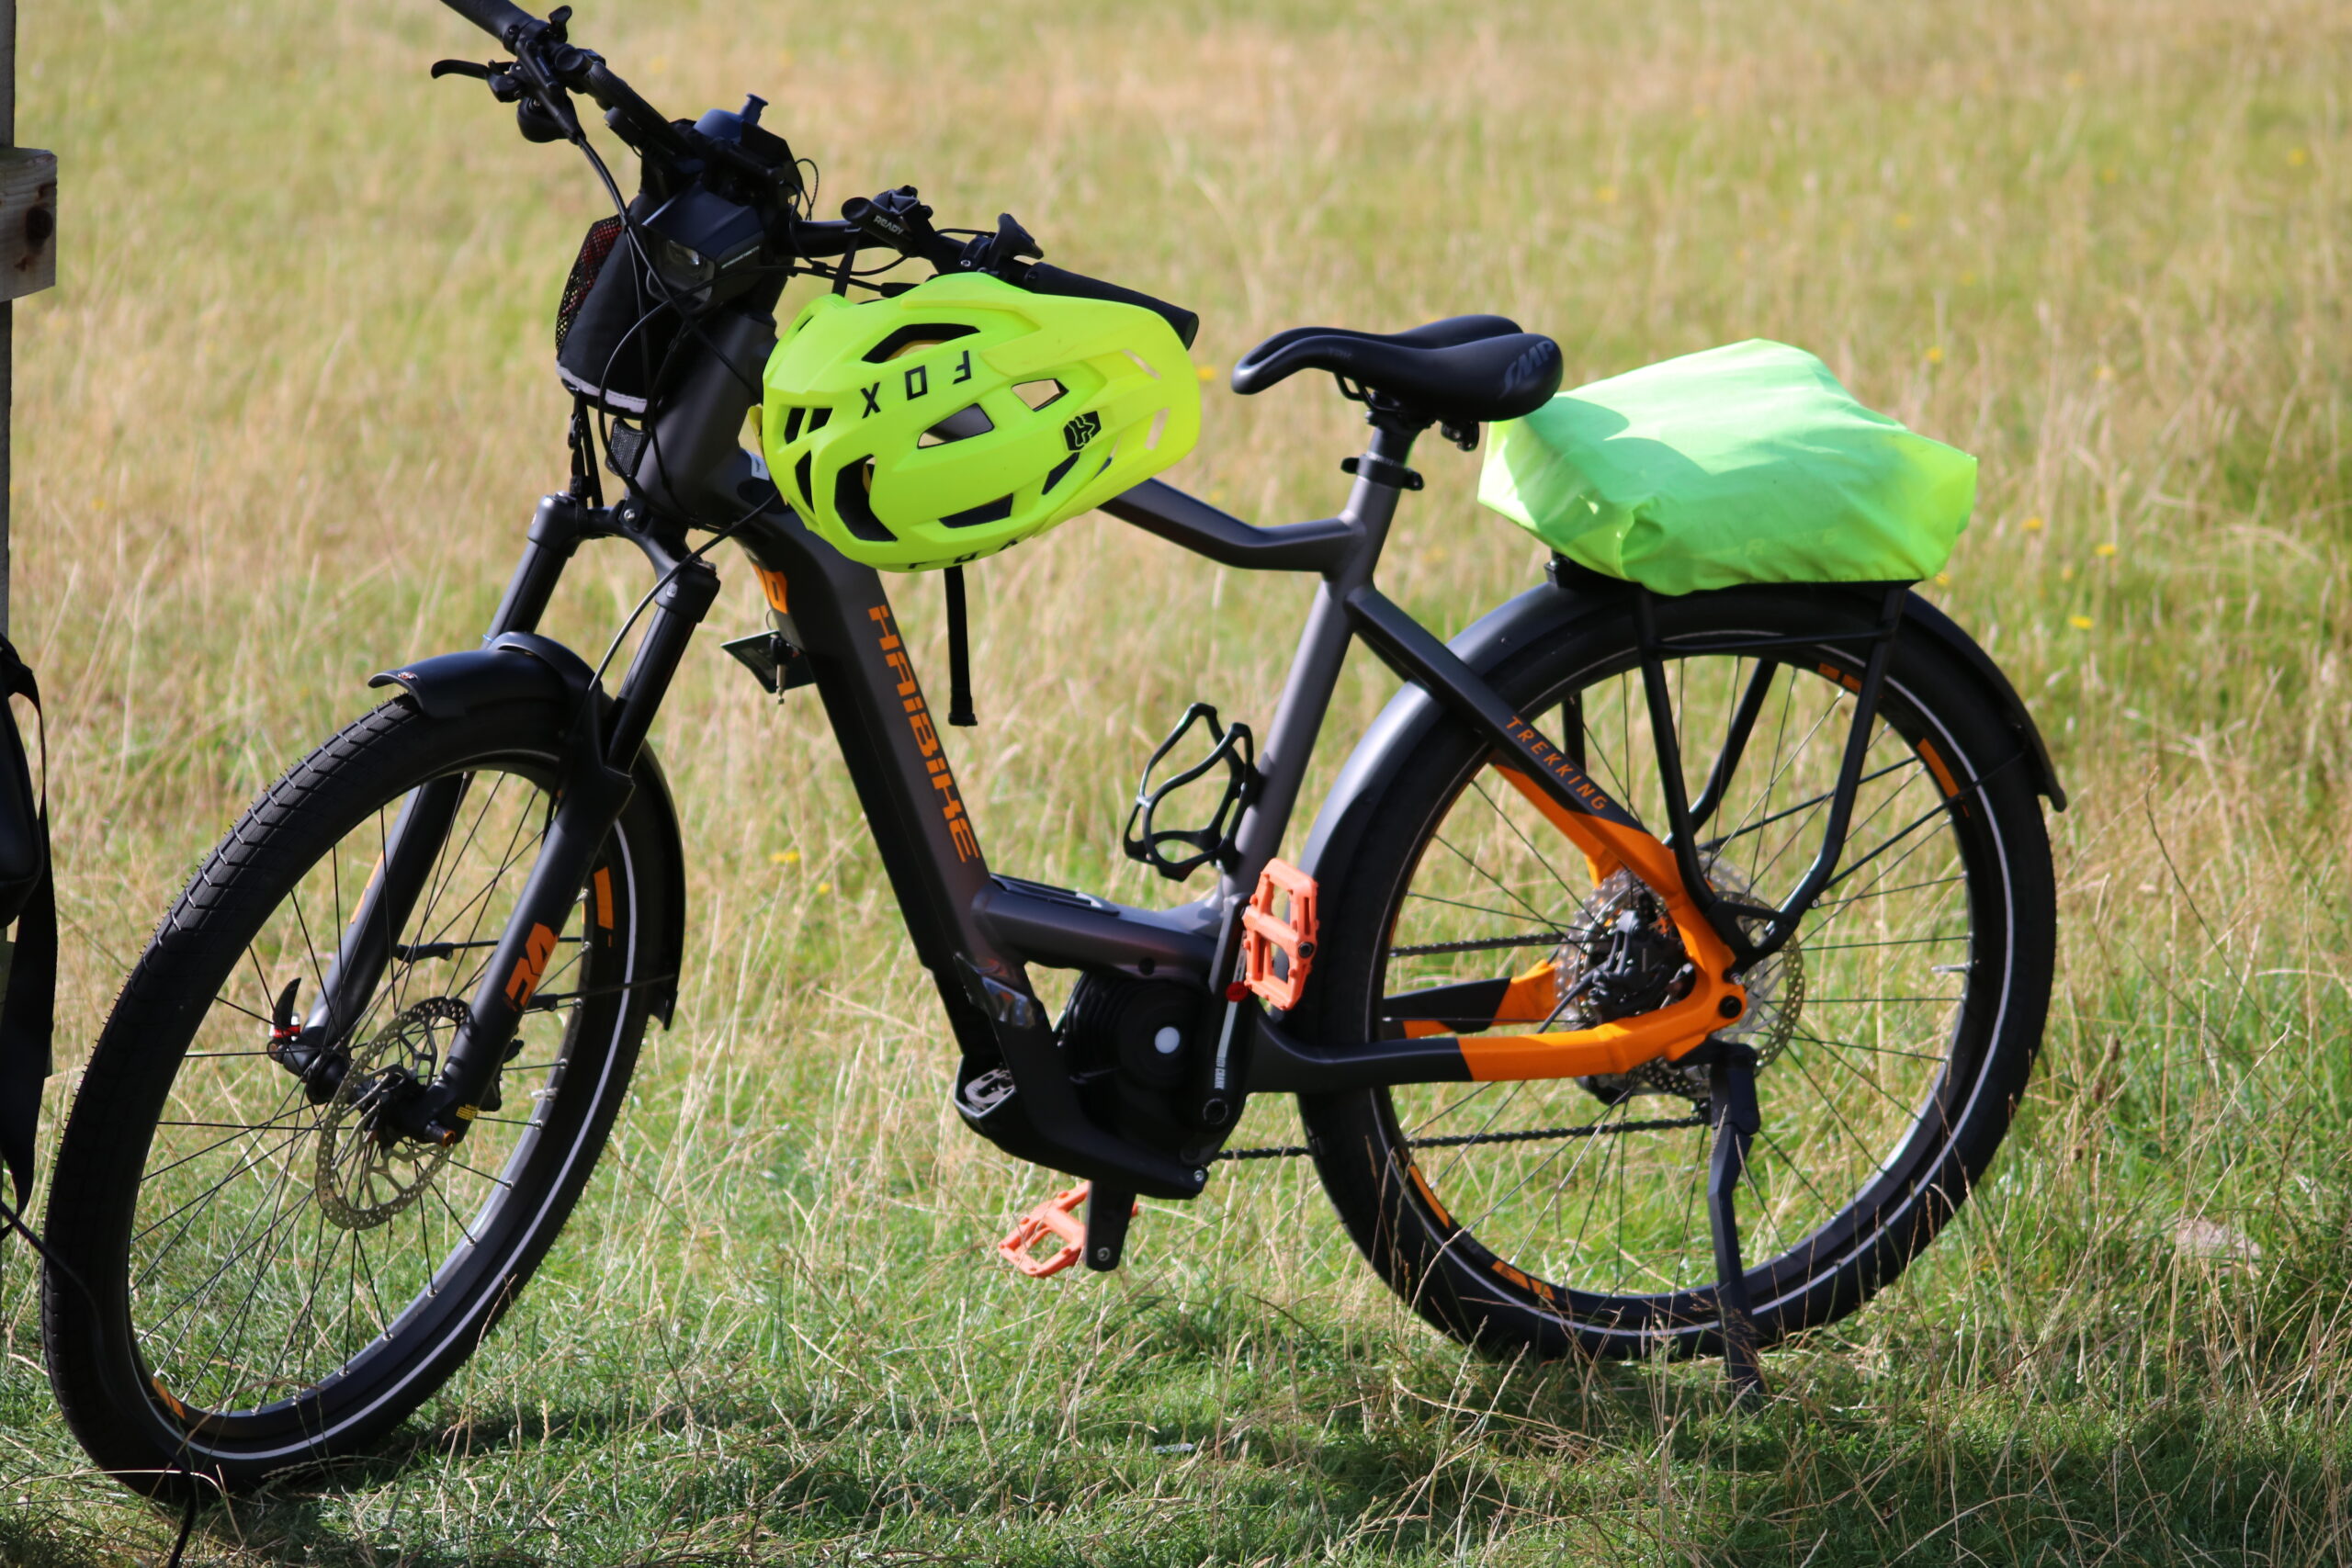
It gets dark early during the winter months. Even if you are riding in daylight hours the weather can be gloomy (or a low sun can make it too bright) and visibility on the roads can be severely compromised. Flashing lights can make a huge difference to how visible you are on the road to other users.

There are bike lights available that are super bright and very sophisticated but you can use a basic rechargeable flashing light to make a big difference to how visible you are out riding. Of course, during the hours of darkness they are a legal requirement.

There have been a number of times during the winter months where a daytime ride can suddenly become an evening one and so having the lights rigged up, charged and ready to go can make sure you don’t get yourself into a dangerous situation unexpectedly. I have even done a fair amount of riding (commuting or otherwise) in the evenings after work in the dark; if you are meticulous about your route planning and ensure you have taken measures to ensure you are visible this can be a great way to ride in the winter.

This doesn’t need to be on the roads but if you are going to be going exploring in the dark then some proper bright lights will be needed to make sure you can see where you are going. A headtorch is also a good thing to combine with lights on your handlebars – that way you can see what you are looking at, not just what is in front of your bike!
Tip 6 – Spares

You should always ride with enough spares and tools to get you home from the most typical mechanical issues. For example spare tubes, tyre levers, a pump and a multi tool. However, the winter months can put more of a strain on your bike and so being extra prepared for issues when riding in the winter is an important way not to come across problems.

Wet weather can bring extra grit and dirt to the road surfaces, from the verges and fields alike. The cold weather also means that cracks and potholes in the road surface open up and are more likely to snag you with a pinch puncture. 

Hedges are often also trimmed in the autumn and as a result you can end up with all manner of thorns and sharp bits strewn across the road ready to put a devasting hole in your tubes (and morale!). You can even find yourself exposed to the threat of a hole hidden under a puddle – where a puncture or other mechanical issue might be getting of lightly. 

So whilst a puncture can happen at any time of the year, riding with a bit of extra security in the winter can account for the increased potential of an issue. Whether that means bringing an additional tube to usual, also putting in a patch kit that you normally wouldn’t bring or taking a larger multitool with more options – it is normally worth the minor inconvenience. 

Not least because whilst stopping and waiting for rescue because you have run out of spares is never a good place to be – it is even worse when it is cold/wet/windy/dark. This tip will also be endorsed by whoever it is that you would be calling to come to pick you up.
Tip 7- Adaptable planning

My final tip is about being adaptable and flexible with your riding plans to fit the conditions in the best way possible. You might have a preferred way of riding in optimum conditions but pragmatism may be needed in the winter when optimum conditions are less likely to occur!

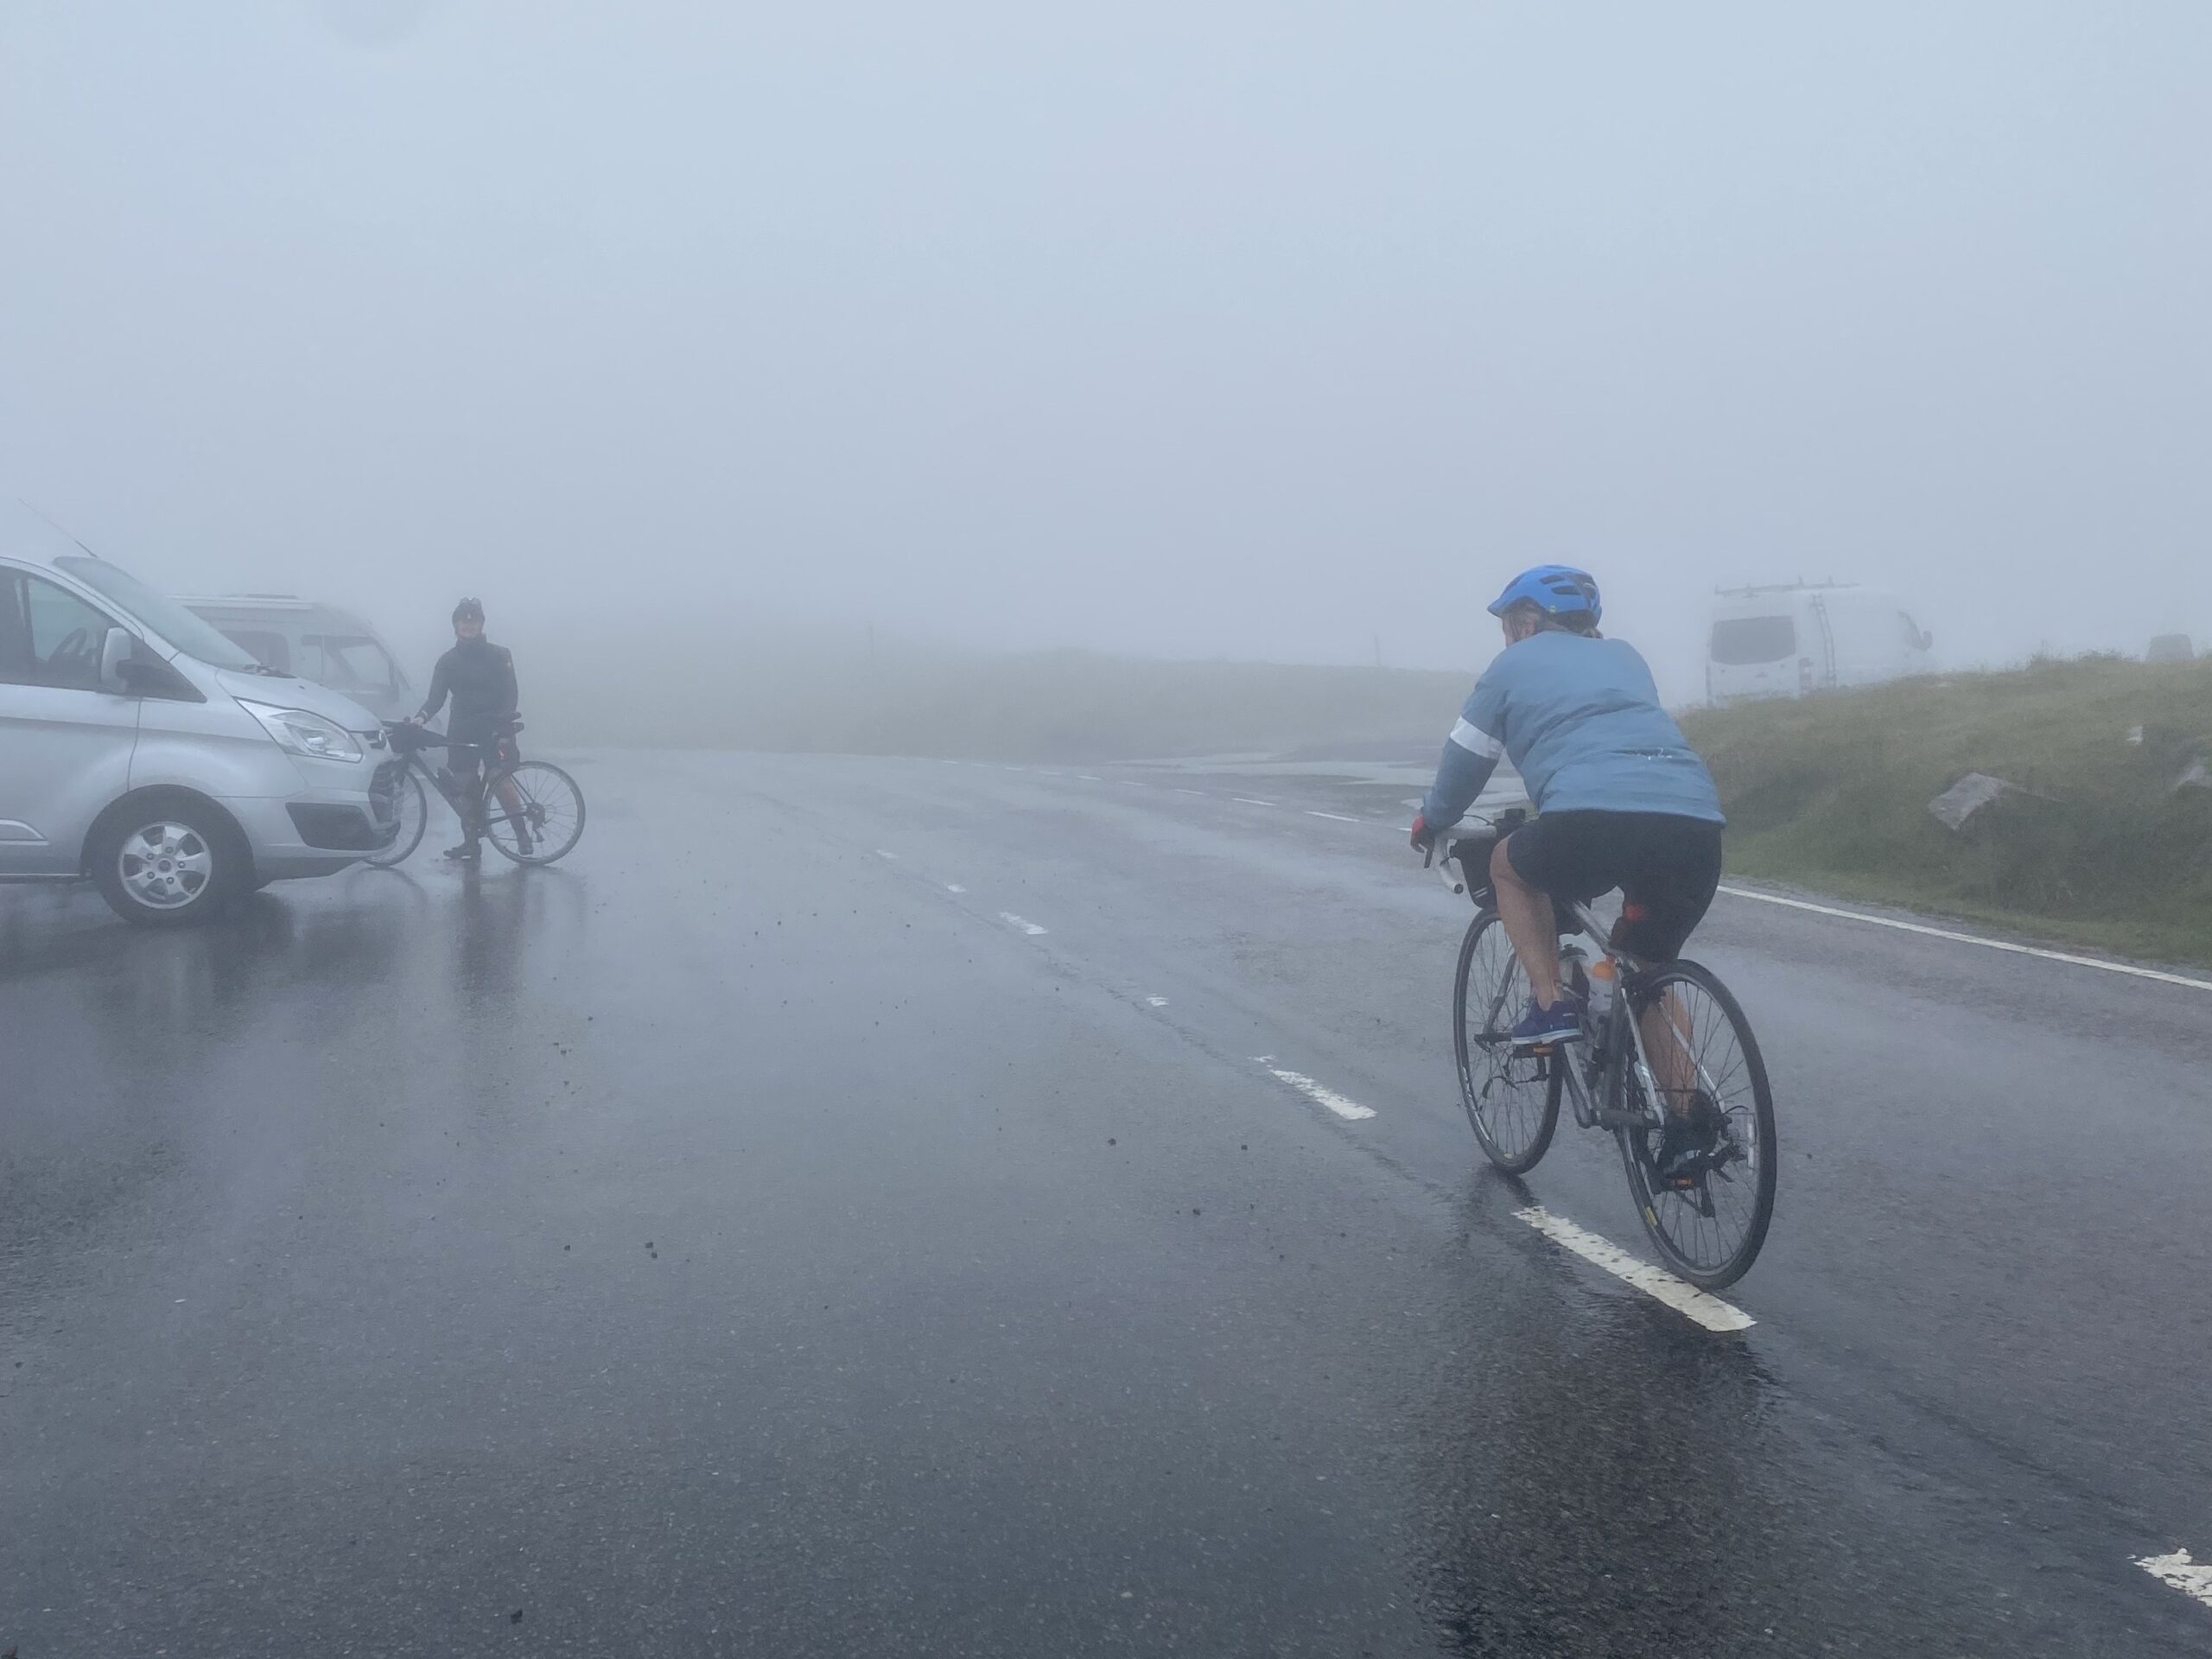
You may have had a morning where going for a ride was on the agenda and then the weather is stormy with dangerous gusts. Or perhaps the rain has flooded the roads around you and the lanes are impassable. Perhaps it is icy and starting out is too risky early in the morning.

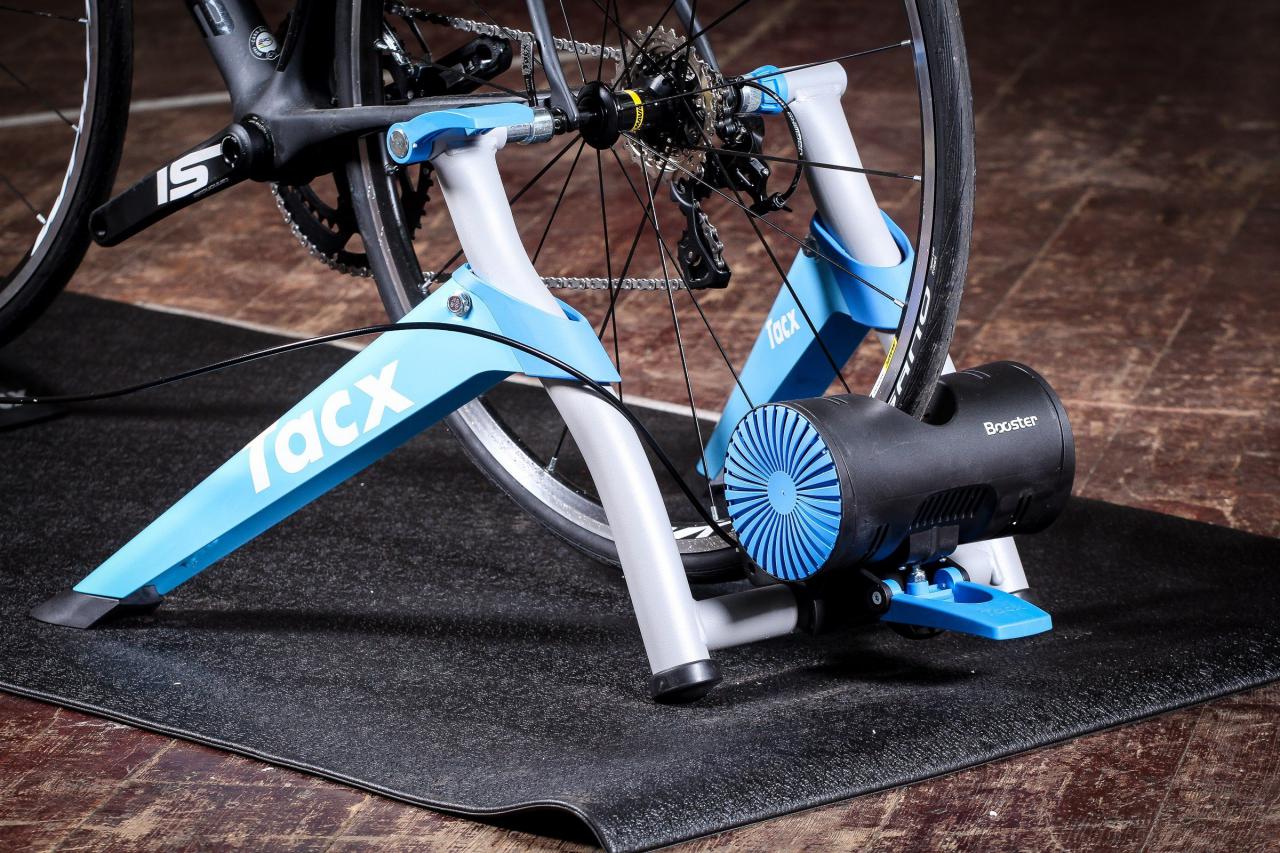
There are lots of ways that you can still get most of the benefits of riding, even with a bit of compromise. Perhaps you can do your ride indoors on a turbo trainer or rollers – Zwift and other online platforms have made indoor training better than it has ever been before. 

Maybe you can ride at a different time when the weather is better. I use a rain radar to plan when I make my 30 minute ride home from work as I am fortunate to be able to be flexible about when I come and go. If the rain is going to stop a bit later then I change my plans so I can ride when it is dry. There is no point being out in the rain and then getting home for the sun to come out (if I have the option!)

It doesn’t have to be on a bike…

You can also exercise in a different format. Many of the things that make a winter bike ride unpleasant (or even dangerous) are far more manageable on a run or a walk and you can still get much of the training benefit that you will get from riding. Even going to the gym or joining an exercise class will be of benefit – even though it might be quite different from going for a bike ride.

Finally, being able to see the wood for the trees and putting a single missed riding opportunity in context. You might miss a ride here or there but over the course of a year it will make very little difference (or no difference at all). Sometimes, things just don’t work out. What is important is not to let missing a ride or two (due to weather or anything else) lead to a huge gap in your riding. That is what will lead to you getting towards the summer and feeling unprepared to make the most of your riding. 

If you have spent the winter running, walking, going to the gym and riding when you can then things will come together quickly in the summer. It is a long way to get ready for a summer ride if you haven’t done anything for months on end. So get out there – future you will thank you for it!
View this post on Instagram

A post shared by Bike the UK for MS (@biketheukforms)

Take a look on our Instagram and Facebook to see the full tips video and more!

Part 2 coming soon…

LLC inside van

Packing Your Cycling Gear – Part 1

Packing for a supported bike tour like our 2025 trips requires some planning – not least for what riding kit to bring. Here are some of my best tips for packing your cycling gear ahead of taking on a trip like Land’s End to John O’ Groats or Lon Las Cymru.

For our tips on packing your off-the-bike stuff, see Charlotte’s blog post from last month HERE

1. Cycling Shorts

Nothing can have more impact on your comfort whilst riding than your shorts. I always start packing my cycling kit with my best pair of bib shorts, they act as a starting point for everything else.

The main question for a trip where you have many days of riding to do and a support vehicle to carry your stuff (albeit, you cannot bring the whole wardrobe!) is how many of each item to bring. For shorts this is, again, a key question. There is the aforementioned question of comfort but even more important is the question of hygiene. 

Saddle sores, chaffing and worse are triggered and then exacerbated by poor hygiene “down there” and for every other packing question it is important to first answer “how am I going to make sure that my cycling shorts are clean at the start of each day’s riding?” From Tour de France professionals to the seasoned bikepacker – it can be game over for a ride if you get this one wrong. 

As a result, if my trip is three days or less, then I will bring fresh shorts for each day. If the trip is longer than three days, then three pairs of shorts is an absolute minimum for me. One pair that I am wearing on a given day, one pair that was washed the evening before and have hopefully started drying and then finally another pair that are hopefully dry (or at least, no longer completely soaked) from the evening before that. 

With this system, even if something has gone wrong – then you should never find yourself without clean shorts, even if they haven’t had time to dry. If there is space to put in a fourth pair (or even a fifth) then they are the priority over extra spares of other bits of kit (such as jerseys).

2. Flexible Kit can solve many packing problems

When trying to pack for the variable British weather, you can find a case for nearly any piece of cycling kit at nearly any time of year. However, the bits that go straight into the bag early doors are the ones that can be used in as wide-ranging conditions as possible. It’s a bonus if they also take up relatively little space.

Arm warmers and leg warmers can change a pair of shorts into tights and a short sleeve jersey into a long sleeved one whilst only taking up the space of a pair of socks each. Whilst they are a compromise from the real deal, in a tight packing situation they can save you lugging kit “just in case”. 

The same goes for base layers (these can be long-sleeved, short-sleeved or sleeveless) and buffs. For minimal packing space they can help keep the wind off you and the warmth in whilst being easy to switch out when the weather changes and only take up a very small amount of space if they don’t end up being needed. I will normally combine a lighter wind/rain jacket with a couple of extra base layers if things get cold to save the big winter jacket being brought around for a summer trip (*more on this later!).

One extra benefit of base layers is that if you can keep them clean (in a similar way to mentioned in the section on shorts above) then you can get away with some re-used jerseys for a while longer! Combining base layers, arm & leg warmers and “normal” cycling kit can cover the vast majority of conditions outside the winter months.

It was a running café-stop talking point amongst my cycling friends whilst at university: “gilet weather”. It was always “gilet weather”; i.e. weather where a combination of a wind-proof gilet (or jacket) and arm-/leg-warmers did the trick.

3. Preparing for the worst (weather)

Once I was happy that I had enough of the kit choices mentioned above sorted (including socks, shoes, helmet and other non-negotiables) I would then see if I had space to put in the items that I hoped not to use: winter jacket, overshoes, winter gloves. If there was space, best to have them, right?

There have been numerous trips that I have brought those three items on for them just to float around in the bottom of the bag/box only to be brought home stinky and needing a wash despite never seeing the light of day. As a result, they can often be foregone unless space really is no issue. 

Despite this, they normally do come with me!

If they do get used, it is normally for a short window; a cold morning or an exposed section where the wind is whipping across open ground. A day where rain has left puddles everywhere or if I want to ride at a more leisurely pace to socialise with riders in the group I don’t normally ride with.

The other reason that I put them in if possible is to be used should others have been caught out with what they have brought. I confidently back my flexible warm gear plan from section 2 but if someone is armed with only a jersey and shorts then a spare winter jacket in the van or some winter gloves might just make a huge difference. 

4. Spares and tools

It is rarely necessary to bring the whole tool box. Especially on a ride where vehicle support is on hand. However, I do always aim to bring tools to get me out of all but the most extreme mechanical situation – ideally, as above, tools that can be flexible.

In the workshop, it might be best to have a set of spanners. But I bring the adjustable one on a trip. A full set of Allen keys and screwdrivers is ideal but a multi-tool with everything up to an 8mm (for my pedals) will be able to save space.

I bring 2-3 spare tubes and then a patch kit as a last resort should I really have puncture problems. I use a mini pump but even if I was relying on CO2 canisters the pump as a backup is essential (in my opinion, having had to offer mine up multiple times when others have had tubeless/CO2 let them down.  

Add in a chain breaker, tyre levers, some tape and some lubricant and then you can cover most of what goes wrong. There is of course an endless further list of things that you could bring – it normally pays to ask the rest of the group if anyone else is bringing something that could be shared. No point having ten bottom bracket tools or crank extractors!

The other mechanical-related thing that I get hold of before a trip like Bike the UK for MS is a spare set of cleats. I find I do more walking about than on a normal day-to-day ride and so they wear out a little quicker than normal. Whilst rarely ride-ending, if can become a major frustration and ruin a lot of the fun.

My worst crime in this department was when I was checking out the King Alfred’s Way route a few months ago – I brought my cycling shoes but still had my flat pedals on my bike! Bigger issues than worn out cleats at that point…

Mandy poncho riding

Felix‘s Top Tips for Winter Cycling – Part 1

Getting out on the bike during the winter months can be more challenging because of any one of what I sometimes call the “four factors” (where Factor Four conditions are when all are present and even I think riding outside would be madness…!): rain, wind, cold and darkness. 

Whilst it can feel sometimes that these four conditions are present all winter long, it is very rarely the case and so there is a huge amount of pedalling joy that can be found riding all year round. If you get things right (and hopefully these top tips will help you with that) then you can experience the benefits of not leaving the bike in the shed for months in a row. 

This will mean that you can enjoy your summer adventures even more with the fitness that riding through the winter can bring. It can also be enjoyable, in its own right – and getting the heart rate up can certainly beat some of those winter blues!

Tip 1 – Layers

Staying warm and dry (but not too warm…) whilst riding in a UK winter can be challenging. Travelling at 10 to 15 miles per hour, or maybe even higher speeds, adds a wind-chill factor that can make it feel several degrees colder than it actually is. With the top half of your body exposed to this moving air, it is important to prioritise keeping as much of the cold air off you as possible.

This can be especially true at the start of a ride or from a café stop but you can actually end up getting quite warm whilst waterproof layers also trap in your sweat once you are up and going, especially if you live somewhere hilly. This can actually lead to you getting quite damp and whilst the thought of being too warm might feel tempting in mid-January it can be nearly as uncomfortable as being too cold. 

Layers on, Layers off

Multiple layers, ideally ones that you can take on and off as needed are the answer. You might find that wearing an extra thermal layer under a wind/waterproof jacket is just right as you start out but then taking it off once you have warmed up gives you the best of both worlds. As we all know, the weather can change in an instant and so having something extra you can put on if it gets wetter, windier or colder can save a lot of misery on a winter ride. 

Your legs can also do with some layering options. If it is set to be cold all ride then full-length tights can keep lots of cold out and warmth in. I love the flexibility of leg (and arm) warmers – cycling-specific items which act as removable coverings for your legs (or arms, accordingly) which can turn normal shorts into tights and can then be removed and shoved into a pocket when no longer needed. If it’s REALLY cold – they can act as a good extra layer under/over something else without adding too much bulky clothing.


Tip 2 – Look after your extremities

Tip two is also all about staying warm but this time it is a very cycling-specific potential coldness problem. Your hands are not doing that much whilst you ride along and are totally exposed to the air moving over your body. As a result they can become super cold, numb and even painful even if the rest of you is actually quite warm.

Not only is this unpleasant and a sure-fire way to remove the joy of cycling from your ride but it can also be very dangerous. With the feeling in your fingers reduced or even gone completely it can be hard to control the bikes with your braking and gear shifting compromised. If you are in a position where you are having to swing your arms around your body or desperately clenching and unclenching your fist to try and coax some feeling into your fingers then it’s already too late. 

The dexterity that you need can mean that bulky gloves can also create their own problems and so a cycling-specific pair of winter gloves are the best. These should ideally be warm and also provide some level of wind and water resistance. 

A budget-friendly way to keep the wind and water off your hands when used in conjunction with a standard pair of gloves is to put a pair of nitrile/latex gloves like you would find in a first aid kit underneath. These will do an excellent job of keeping cold out but are a bit too good at keeping moisture in so you will find your hands get sweaty pretty quickly.

It’s not just about your hands

Whilst your feet might be moving a lot more than your hands as you turn the pedals your toes can also end up uncomfortably cold. Overshoes might look a bit unusual but for riding in winter they are a tremendous addition. 

Like cold fingers, cold toes can ruin a ride and as long as you don’t walk around in them too much then a pair of overshoes can last many winters and will even help preserve your shoes – protecting them from the muck and spray that flies up from your wheels as you ride.


Tip 3 – Ride with others

You have planned to go for a ride but as your alarm goes off you can hear the rain pattering on the window and you’re warm in the covers. You could put all your cycling gear on and head out but if you didn’t and just stayed in bed for another hour instead – who would even know?

Well, if you had arranged to ride with a buddy or a group of friends – then you would have to let them know you weren’t riding. We all know that being accountable to someone else is a hugely powerful way of getting over the hump of getting started on something and cycling in the winter is no different.

Getting your kit on and out of the door is almost always the hardest part and normally (especially if you follow these tips!) the ride itself is lots of fun and you wonder why on earth you considered not starting. Having people help you avoid the temptation to skip your ride is a powerful tool and riding with others makes the ride itself even better too. 

It can make the time go by faster having mates to chat with and I always find that I will ride further in a group than I would on my own. It isn’t always going to be possible on every ride but having a regular time to ride, ideally together, can help build a helpful routine to keep the momentum going through until spring. 

View this post on Instagram

A post shared by Bike the UK for MS (@biketheukforms)

Take a look on our Instagram and Facebook to see the full tips video and more!

Part 2 coming soon…

Packing

Charlotte’s Guide to Packing as a Route Leader

As the elected most organised packer of the Bike the UK for MS team, I am going to talk through my must haves for our trips as a route leader. It can certainly be difficult packing for your first trip, but after having a few goes this Summer I have found the best way that works for me, and may help you.

Camping Gear

You don’t need the most expensive and most definitely don’t need the biggest tent for our trips. A two-person, double skinned tent is perfect. Your tents go separately in the van so you don’t need to worry about your box space when it comes to the compactness of your tent when packed up and now would be a great time to look for any summer sales for a bargain if you don’t have one already. Make sure you have tent pegs packed with them, as this mistake has been made in the past!

A sleeping mat or air mattress is personal preference; we’ve even had camping beds used on our trips but remember that it does go in your box. Personally, I have a roll mat for ease and no risk of ending up on the floor halfway through the night, but that’s something Felix could tell you more about. In conclusion – check your air mattresses keep their air before bringing it on the trip! A camping pillow is a great comfort to have especially on a sleeping mat. Once again this is personal preference. Takeaways, cafes and meal deals get me through my trips; however, a gas stove or jet boil is a good item to have for a healthier diet than me! I do make sure I bring cutlery though, which is an easy item to forget and always comes in handy.

Clothes

As route leaders you will be in and out of the vans all day. It is important to wear things that are comfortable as well as all-weather appropriate. Alongside the obvious underwear and clothes needs, there are a few must haves when route leading a trip as you will be outside when camping and at rest stops. Waterproofs – a waterproof rain jacket is essential, and I would recommend waterproof trousers. Nothing fancy and expensive, some basic over trouser waterproof have put me in good stead, especially on the Lon Las Cymru trip this year!

There has not been a single trip this year where I haven’t worn my jumper. As route leaders you may be waiting out of the van at rest stops for an extended period so something to keep you warm, even in the dryer weather is needed. Layers are your best friends, and long sleeve layers are even better when fighting against the midges in Scotland. Something that can be easily forgotten are pyjamas; some accommodation is shared in halls so some form of pyjama is required.


A few things that are nice to have is evening wear and a form of slip-on shoe. Once you’ve reached camp and showered its nice to spend some time in camp at dinner, some comfortable clean evening wear is nice to have. Having shoes like sliders and flip flops are great to have especially when heading to the showers or to the toilets during the night at camps. I like to be optimistic and pack one pair of shorts, you’ll find trousers will be a go-to the majority of the time. My first trip I was too optimistic with the shorts to trouser ratio!

Toiletries

Along with the usual toiletries you would pack for any kind of overnight stay, you must also remember any kind of items required for camping. Personally, I have some hand wash leaves and hand sanitiser just in case there isn’t any at rest stops or camping sites. I also have face and body wipes for similar reasons. The most forgotten toiletry items are toothbrushes, towels and sun cream.
Smidge spray and midge nets are an absolute essential on the North Coast trip unless you are an absolute warrior like our route leader Katrina – you can certainly tell she lives in Scotland!

Things to Have on Hand During the Day

Instead of a rest stop box I have a backpack that comes in the footwell of the van with me. This has my food and anything I want during the day. This is where I will have my charging leads and a portable charger as you may be using a lot of battery communicating with riders or following a gpx route. Although a portable charger isn’t necessary due to having the Jackery power supplies, it is great to have one so you can charge your device away from the back of the van and on the move.

Other items like sunglasses, a water bottle and a travel mug also great to have on hand. These items aren’t necessary but they are small and great to have during the trip for sunny, hot and cold occasions.

How to Pack

Ultimately the best way to pack depends on the trip and type of transport you are taking to get to and from our trip destinations. But you must also consider the bag you pack in must also go in the van, ideally in your tub. For me, and I must admit this was a specified buy with the cycling trips in mind, I have an 80L foldable duffel bag which is the same volume (although not dimensions) of the box my stuff must go in.
A couple of things I use to help me utilise space and keep organised throughout the trip are a vacuum bag for my sleeping bag and pillow – this primarily helps me get all my stuff in one bag, as well as taking up less space in my box. Packing cubes help keep all my clothes organized throughout the trip and means no hectic rummaging in my box. These are definitely not necessities, but it does make my life a little easier in the mornings when getting ready for the road.